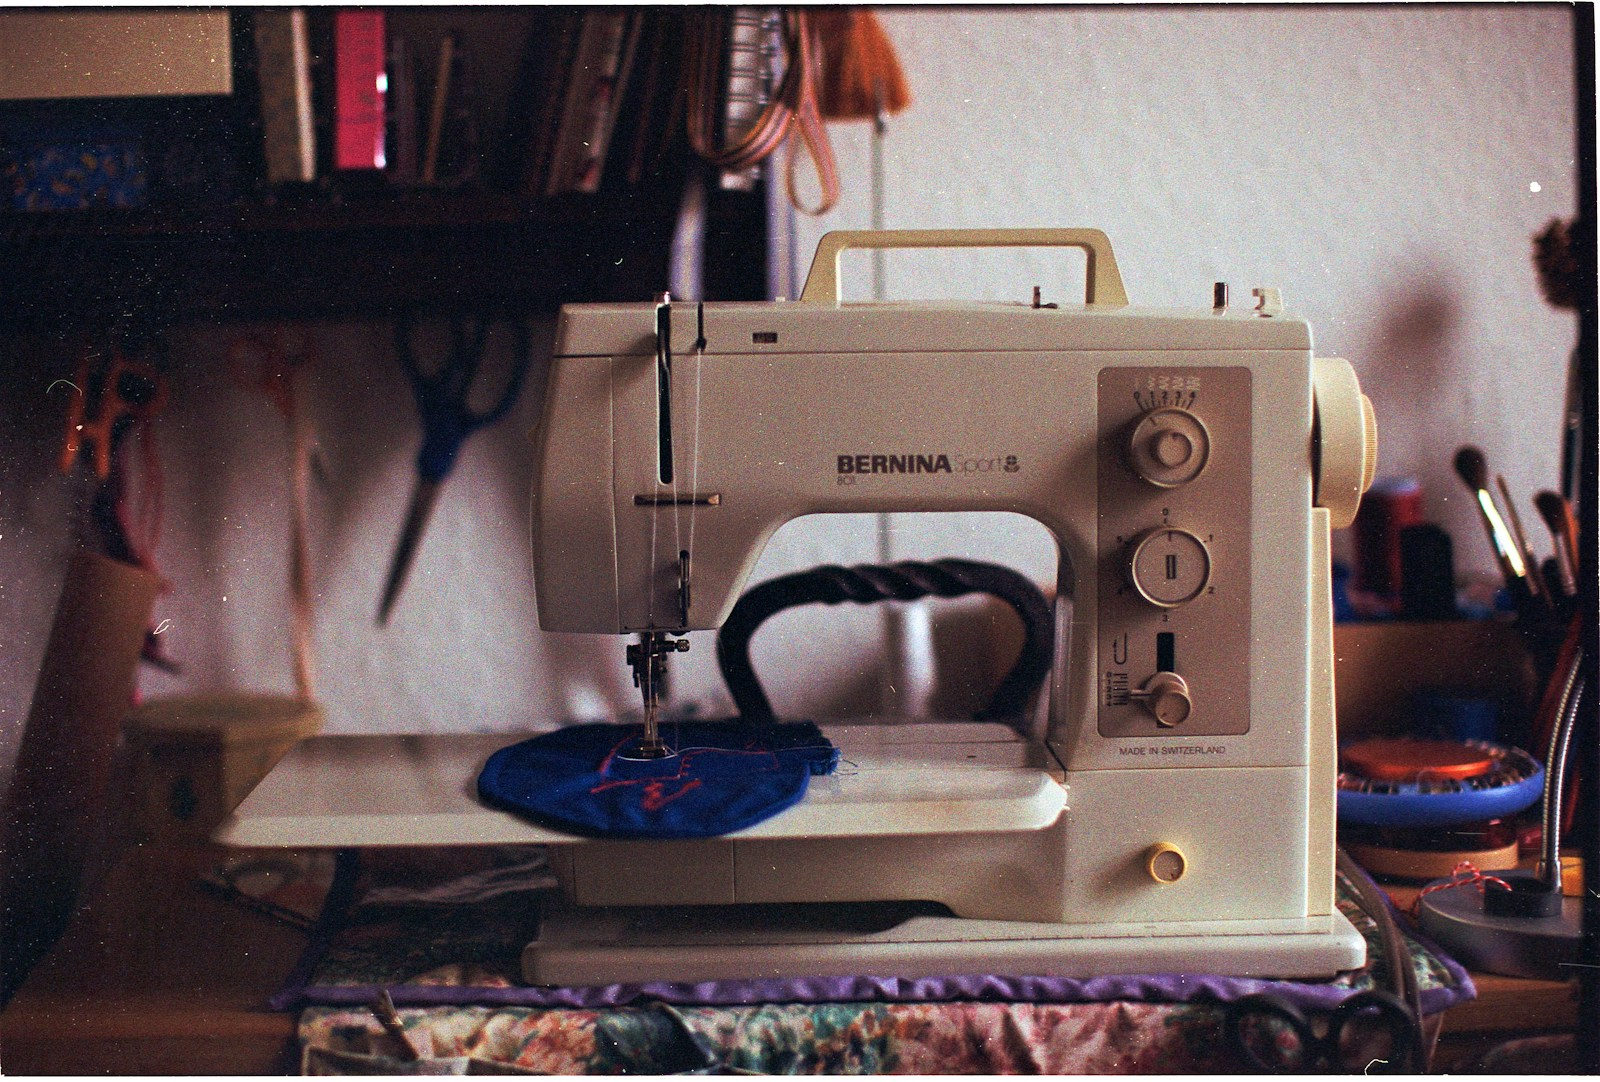
If you are new to sewing, your machine can feel a little mysterious. You thread it correctly, press the pedal, and then suddenly the stitches are looping, skipping, puckering, or breaking. Most of the time, the problem comes down to three things: thread, needles, and tension.
The good news? Once you understand how these three work together, troubleshooting your sewing machine becomes much less frustrating.
Why Thread, Needles, and Tension Matter
Your sewing machine creates stitches by working the top thread and bobbin thread together. The needle carries the top thread down through the fabric, the bobbin thread catches it underneath, and the tension controls how tightly those threads lock together.
When everything is balanced, your stitches look smooth on both sides of the fabric.
When something is off, you may see:
- Loops on the top or bottom of your fabric
- Broken thread
- Skipped stitches
- Puckered seams
- Fabric getting pulled into the needle plate
- Uneven or messy stitching
Before you blame your machine, start by checking your thread, needle, and tension.
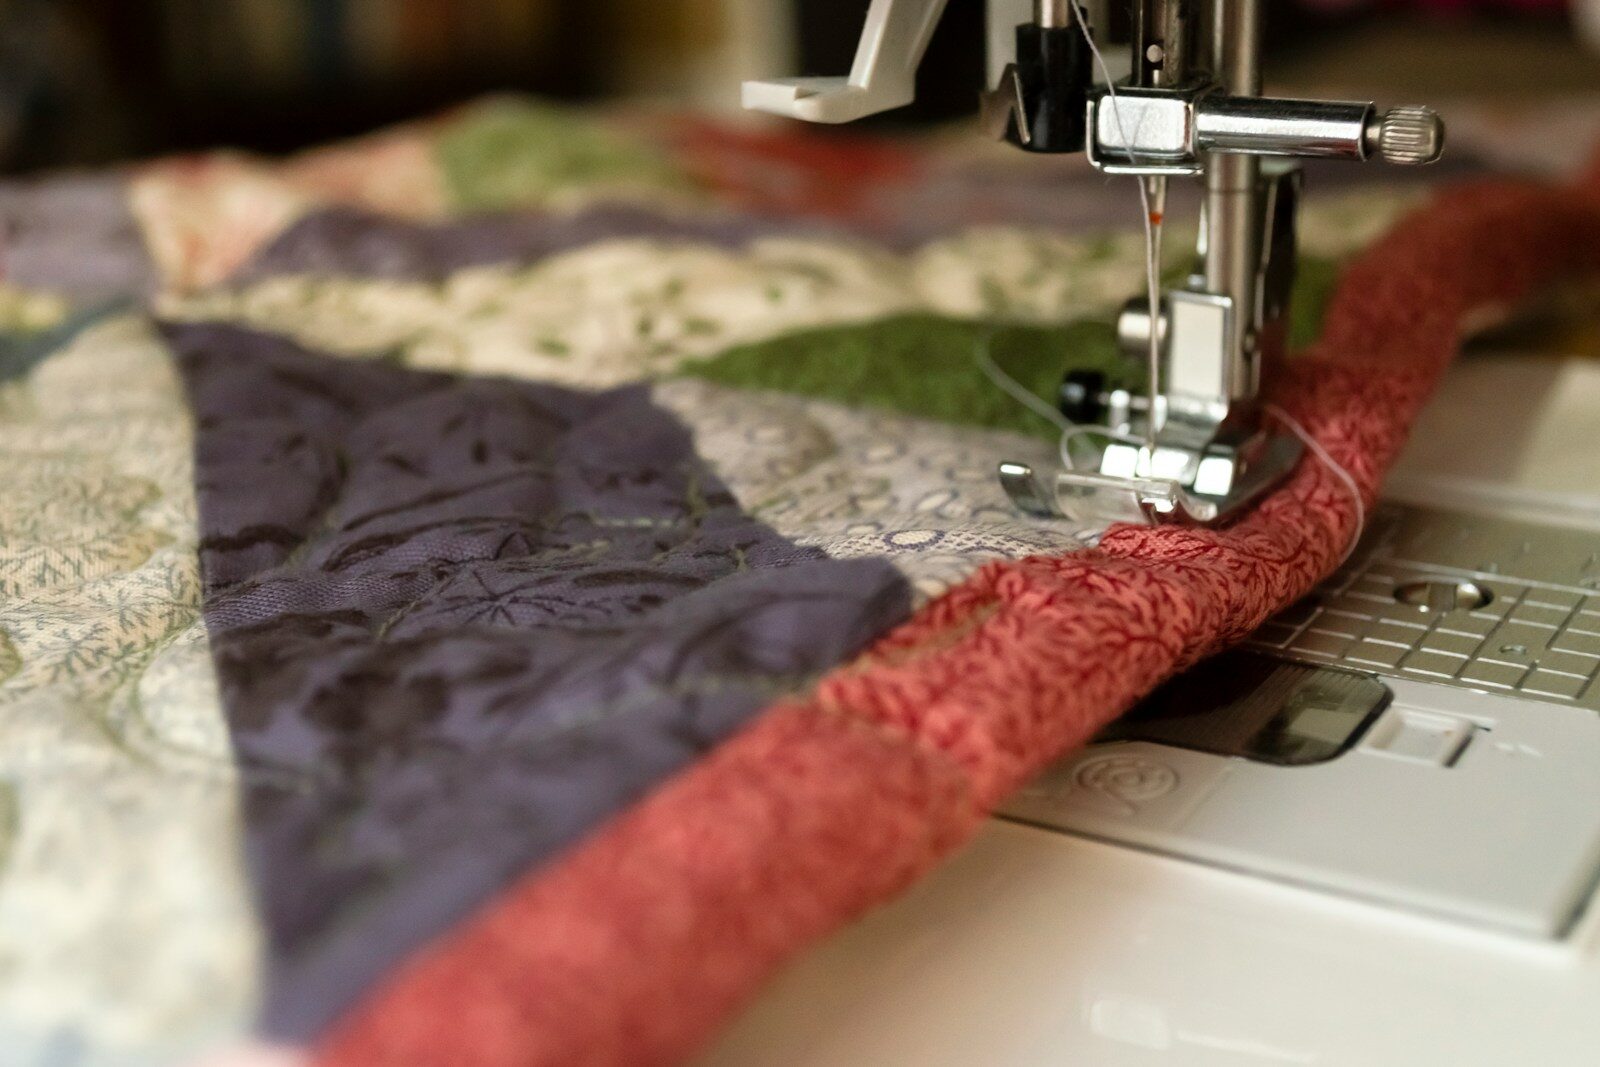
Part 1: Choosing the Right Thread
Thread seems simple, but using the wrong kind can cause a lot of sewing problems.
For most beginner sewing projects, an all-purpose polyester thread is a great choice. It works well on woven cotton, quilting cotton, basic apparel fabrics, and many craft projects. Polyester thread has a little bit of stretch and is strong enough for everyday sewing.
Common Types of Thread
All-Purpose Polyester Thread
This is the best beginner-friendly option. Use it for clothing, bags, home decor, crafts, and general sewing.
Cotton Thread
Cotton thread is often used for quilting or sewing natural fibers. It does not have as much stretch as polyester thread, so it may not be the best choice for stretchy fabrics.
Heavy-Duty Thread
This is used for thicker projects like denim, canvas, upholstery, or bags. If you use heavy-duty thread, you may also need a larger needle.
Stretch Thread or Woolly Nylon
This is helpful for knit fabrics, especially in sergers or loopers. Beginners usually do not need this right away unless they are sewing a lot of knits.
Beginner Thread Tip
Avoid very cheap thread, old thread, or thread that feels fuzzy and weak. Poor-quality thread can create lint, break easily, and cause tension problems. A good-quality thread can make your machine run much more smoothly.
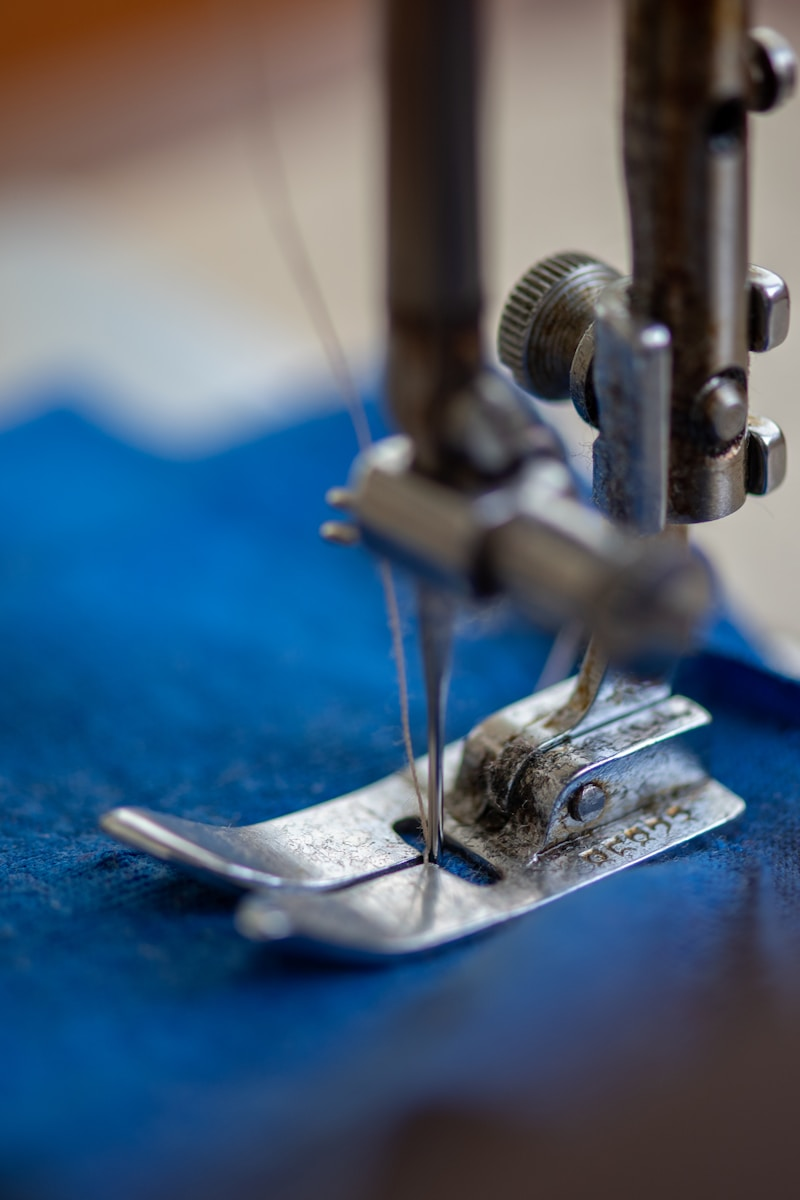
Part 2: Choosing the Right Needle
Your needle is one of the smallest parts of your sewing machine, but it has a huge impact on your stitches.
A dull, bent, or incorrect needle can cause skipped stitches, broken thread, fabric snags, and uneven seams. Many sewing problems can be fixed simply by changing the needle.
Basic Needle Types for Beginners
Universal Needle
This is a good all-purpose needle for woven fabrics. It works well for cotton, basic craft fabric, and many beginner projects.
Ballpoint or Jersey Needle
Use this for knit fabrics. The rounded tip slides between fabric fibers instead of cutting through them, which helps prevent holes or runs.
Stretch Needle
Use this for very stretchy fabrics like athletic knit, swim fabric, or spandex blends. It helps prevent skipped stitches.
Denim or Jeans Needle
Use this for heavy fabrics like denim, canvas, or thick layers.
Microtex Needle
Use this for tightly woven or delicate fabrics when you want a very sharp, precise stitch.
Understanding Needle Sizes
Needle sizes usually appear as two numbers, such as 80/12 or 90/14.
A smaller needle works best with lightweight fabric.
A larger needle works best with heavier fabric.
Here is a simple beginner guide:
| Fabric Type | Suggested Needle |
|---|---|
| Lightweight cotton, voile, lawn | 70/10 or 75/11 |
| Quilting cotton, basic woven fabric | 80/12 |
| Medium-weight fabric | 80/12 or 90/14 |
| Denim, canvas, heavier fabric | 90/14 or 100/16 |
| Knit fabric | Ballpoint/Jersey 75/11 or 80/12 |
| Stretch fabric | Stretch 75/11 or 90/14 |
How Often Should You Change Your Needle?
Change your needle after every big project or about every 6–8 hours of sewing. You should also change it immediately if you hit a pin, hear a popping sound as the needle goes through the fabric, or start seeing skipped stitches.
A fresh needle is one of the easiest ways to improve stitch quality.
Part 3: Understanding Sewing Machine Tension
Tension controls how tightly the top and bobbin threads pull against each other.
When tension is balanced, the top thread and bobbin thread meet in the middle of the fabric layers. You should not see big loops, knots, or pulled thread on either side.
Most beginner sewing machines have a tension dial. A common default setting is around 4, but this can vary by machine.
What Balanced Tension Looks Like
Balanced stitches should look even on the front and back of your fabric. The thread should lie smoothly without puckering the fabric or forming loops.
Signs Your Tension Is Too Loose
Your tension may be too loose if:
- You see loops on the underside of the fabric
- The stitches look messy or uneven
- The seam feels loose
- The top thread is not pulling tightly enough
Try increasing the upper tension slightly.
Signs Your Tension Is Too Tight
Your tension may be too tight if:
- The fabric puckers
- The thread breaks
- The bobbin thread is pulled to the top
- The stitches look tight or strained
Try lowering the upper tension slightly.
Before Adjusting Tension, Check These First
Many beginners adjust the tension too quickly. Before changing the tension dial, check these things:
1. Rethread the Machine
Rethread the top thread with the presser foot raised. This allows the thread to settle correctly into the tension discs.
2. Check the Bobbin
Make sure the bobbin is inserted in the correct direction. Also check that the bobbin thread is feeding smoothly.
3. Change the Needle
A dull or bent needle can make it look like you have a tension problem.
4. Use Matching Thread
Use the same type and weight of thread in the top and bobbin when possible. Mixing very different threads can affect stitch balance.
5. Clean the Machine
Lint around the bobbin case can cause uneven stitches. Remove lint regularly with a small brush.
Quick Troubleshooting Guide
| Problem | Possible Cause | Try This |
|---|---|---|
| Thread breaks | Needle too small, old thread, tension too tight | Change needle, use better thread, lower tension |
| Skipped stitches | Wrong needle, dull needle, fabric type issue | Use correct needle for fabric |
| Loops underneath fabric | Top thread not threaded correctly, tension too loose | Rethread machine, raise tension slightly |
| Loops on top of fabric | Bobbin issue, bobbin not inserted correctly | Reinsert bobbin, check bobbin threading |
| Fabric puckers | Tension too tight, stitch length too short | Lower tension, lengthen stitch |
| Needle breaks | Needle bent, fabric too thick, pulling fabric | Change needle, sew slowly, do not pull fabric |
A Simple Beginner Sewing Test
Before sewing your actual project, test your thread, needle, and tension on a scrap piece of the same fabric.
Sew a few straight lines and check both sides of the fabric.
Ask yourself:
- Are the stitches even?
- Is the fabric puckering?
- Are there loops on the top or bottom?
- Is the thread breaking?
- Does the needle move smoothly through the fabric?
This small test can save you a lot of frustration later.
Best Beginner Setup for Most Projects
For many beginner sewing projects, this setup works well:
- Thread: All-purpose polyester thread
- Needle: Universal 80/12
- Tension: Start around the machine’s default setting
- Stitch length: 2.5 mm for basic seams
- Fabric: Quilting cotton or another stable woven fabric
Once you are comfortable, you can start experimenting with different needles, thread types, and fabric weights.
Final Thoughts
Thread, needles, and tension may seem confusing at first, but they become much easier once you know what each one does. When your stitches do not look right, do not panic. Start with the basics: rethread your machine, check the bobbin, change the needle, and test on scrap fabric.
Most sewing problems are fixable with a few small adjustments.
The more you sew, the more confident you will become at recognizing what your machine needs. A smooth stitch starts with the right thread, the right needle, and balanced tension.
Subscribe to our newsletter!