Sewing a straight line sounds simple—until you actually sit down at your machine and watch your stitches drift, wobble, or veer completely off course. If you’ve ever felt frustrated trying to keep your seams neat and even, you’re not alone. The good news? Sewing straight lines is a skill you can absolutely learn with the right techniques and a little practice.
In this guide, you’ll learn everything you need to know—from setting up your machine to mastering control—so your stitches look clean, professional, and confidence-boosting.
Why Straight Lines Matter in Sewing
Straight stitching is the foundation of almost every sewing project. Whether you’re making a pillowcase, hemming pants, or sewing a tote bag, your seams need to be consistent.
When your lines are straight:
- Your projects look polished and professional
- Pieces fit together correctly
- Seams are stronger and more durable
When they’re not? You may end up with puckered fabric, uneven hems, or mismatched pieces.
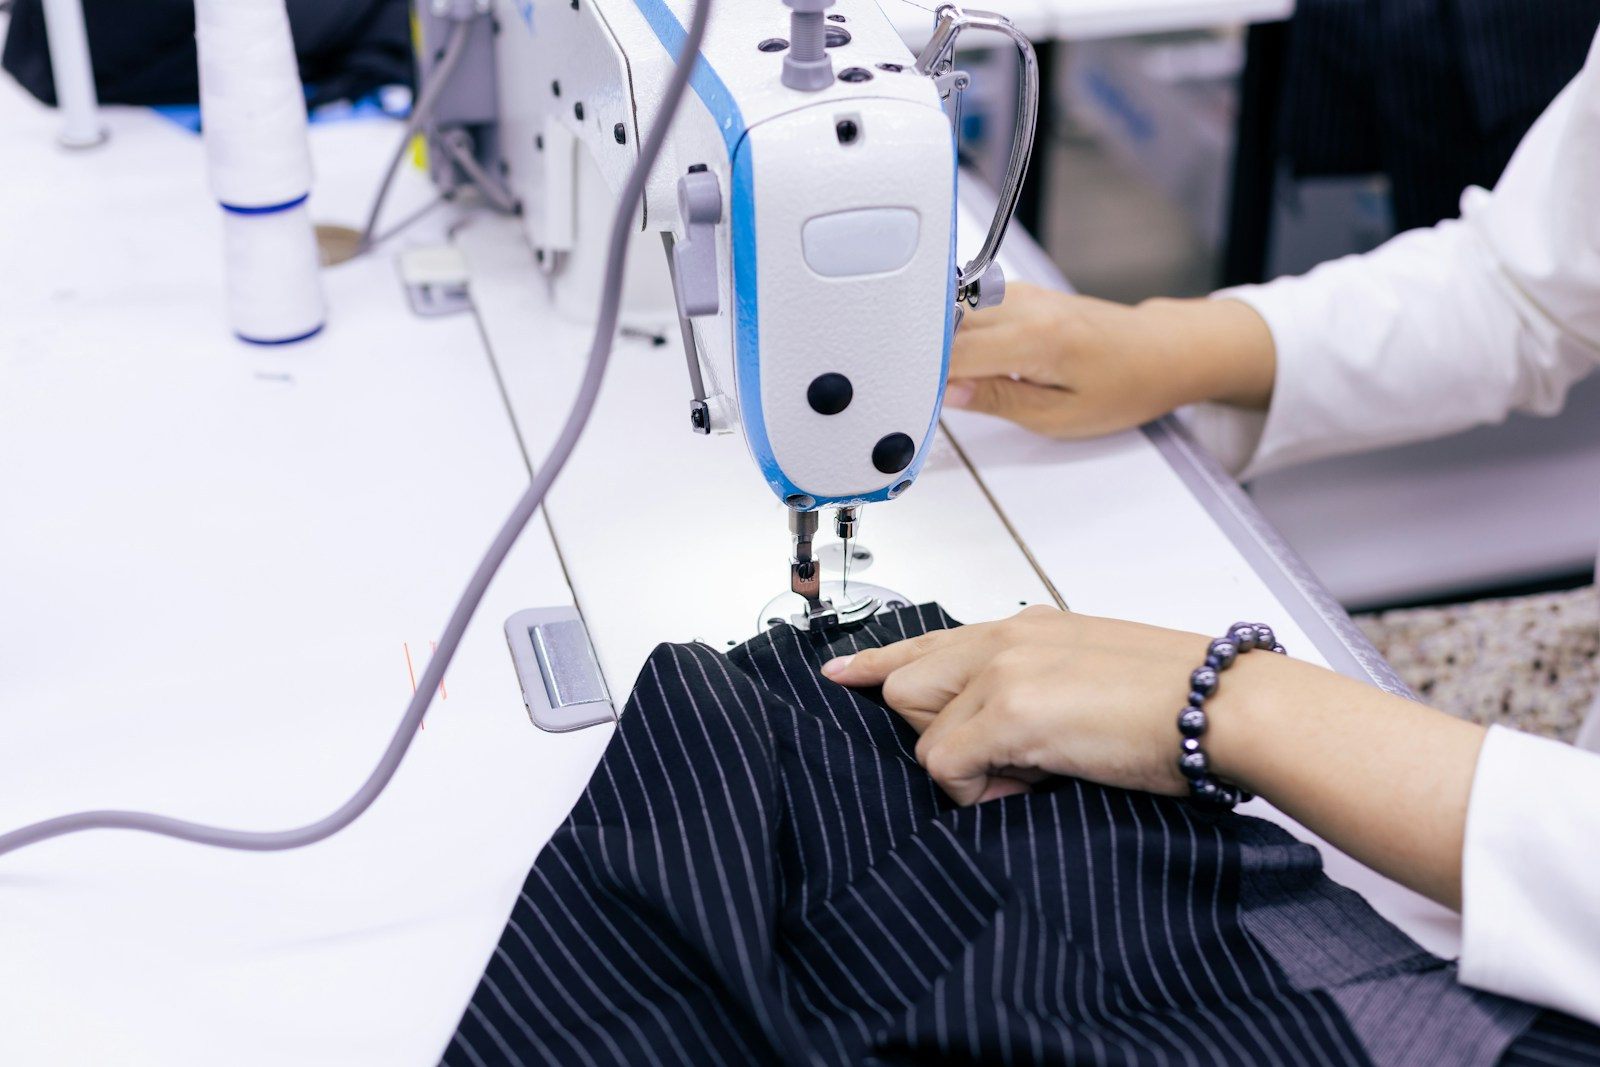
Start With the Right Setup
Before you even touch the pedal, your setup matters more than you think.
Proper Sewing Machine Position


Make sure:
- Your machine is on a stable surface
- You’re sitting comfortably with good posture
- The needle area is well-lit
Your hands should rest gently on the fabric—not pushing or pulling, just guiding.
Choose the Right Needle, Thread, and Fabric
Not all materials behave the same. If your stitches look crooked, your supplies might be the culprit.
Tips:
- Use a universal needle for basic cotton fabrics
- Match thread weight to your fabric
- Start practicing with stable fabrics like quilting cotton
Avoid stretchy or slippery fabrics (like knits or satin) until you’re more confident.
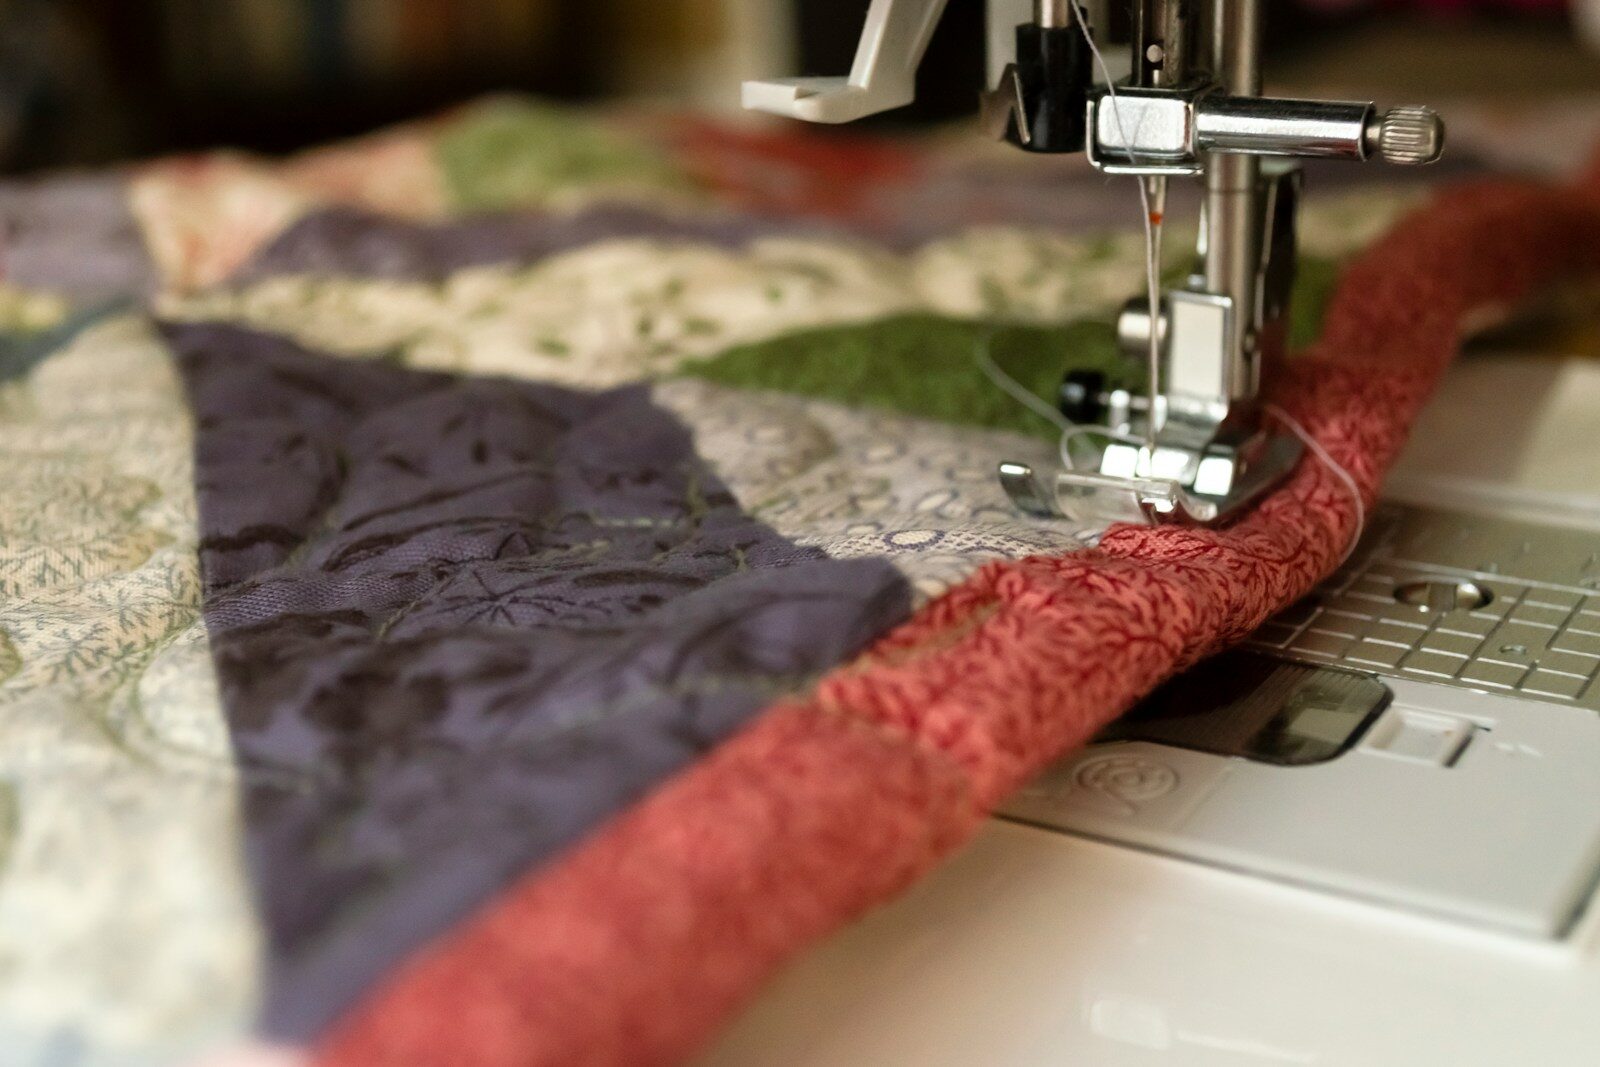
Use the Machine’s Built-In Guides
One of the biggest beginner mistakes is trying to follow the needle instead of using seam guides.
What Are Seam Guides?


Those lines etched into your machine’s needle plate are there to help you sew straight.
Instead of watching the needle:
👉 Keep your eye on the fabric edge lining up with a guide line.
This keeps your seam allowance consistent—which is just as important as being “straight.”
Slow Down (Seriously)
Speed is the enemy of straight lines—especially when you’re learning.
Try This:
- Use a slow to medium speed setting
- Gently press the foot pedal instead of flooring it
- Focus on control, not speed
As your confidence grows, your speed naturally will too.
Keep Your Eyes in the Right Place
This is a game changer.
Don’t Watch the Needle
Your instinct might be to stare at the needle going up and down—but that leads to wobbly lines.
Instead:
- Look ahead of the needle
- Watch where the fabric is going, not where it is
Think of it like driving—you don’t stare at the hood of your car, you look at the road ahead.
Let the Machine Do the Work
One of the biggest mistakes beginners make is forcing the fabric through the machine.
What to Do Instead:
- Keep your hands relaxed
- Guide the fabric gently
- Let the feed dogs (those little metal teeth under the fabric) move it forward
Pushing or pulling can cause uneven stitches and crooked seams.
Practice Without Thread First
This might sound strange, but it works incredibly well.
Why It Helps:
- Removes pressure of “messing up”
- Lets you focus on control and movement
- Builds muscle memory
Try This Exercise:
- Draw straight lines on paper
- Remove thread from your machine
- “Sew” along the lines
You’ll punch holes in the paper as you go—this helps you visually track your accuracy.
Mark Your Fabric
If you’re struggling to stay straight, give yourself a visual guide.
Tools You Can Use:
- Fabric chalk
- Washable fabric markers
- A ruler or quilting guide
Draw a straight line and sew directly over it. This builds confidence quickly.
Use the Right Presser Foot
Your presser foot can make a big difference in how straight your lines are.
Helpful Options:
- Standard presser foot – good for beginners
- Walking foot – helps feed fabric evenly
- Edge guide foot – great for perfectly straight seams
If your fabric shifts or bunches, switching feet can help immediately.
Control Your Fabric at the Start
The beginning of a seam is where many lines go crooked.
Fix It With This Trick:
- Hold both thread tails gently behind the machine
- Keep fabric straight before pressing the pedal
- Start slowly
This prevents bunching and keeps your line aligned from the start.
Practice Basic Straight-Line Exercises
Like any skill, repetition builds confidence.
Simple Practice Ideas:
- Sew parallel lines across fabric
- Practice pivoting at corners
- Stitch along printed grids
You don’t need a fancy project—just scrap fabric and time.
Fix Common Straight-Line Problems
Let’s troubleshoot a few common issues:
Crooked Lines
- You’re watching the needle instead of the guide
- You’re sewing too fast
Uneven Stitches
- Incorrect tension
- Pulling the fabric
Fabric Shifting
- Wrong presser foot
- Not using pins or clips
Wavy Seams
- Stretching fabric while sewing
- Using the wrong needle
Use Pins or Clips for Accuracy
Holding layers together is key for straight stitching.
Best Practices:
- Pin perpendicular to the seam
- Remove pins as you sew (never sew over them)
- Use clips for thicker fabrics
This keeps everything aligned and prevents slipping.
Press Your Fabric First
Wrinkled fabric leads to uneven seams.
Always:
- Iron your fabric before sewing
- Press seams after stitching
This one habit alone can dramatically improve your results.
Build Confidence With Beginner Projects
If you want to get better at straight lines, choose projects that reinforce the skill.
Great Starter Projects:
- Pillowcases
- Tote bags
- Napkins
- Table runners
These projects rely heavily on straight seams—perfect for practice.
Final Tips for Perfectly Straight Lines
- Practice a little every day
- Don’t rush the learning process
- Focus on consistency, not perfection
- Celebrate small improvements
Remember: even experienced sewists had crooked lines at the beginning.
You’ve Got This
Sewing straight lines isn’t about talent—it’s about technique, patience, and practice. Once you master this foundational skill, everything else in sewing becomes easier.
Stick with it, keep practicing, and before long, those once-wobbly seams will turn into clean, confident lines you’re proud of.
Looking for more great sewing tips or sewing business strategies? Subscribe to our newsletter!