Learning how to wind and insert a bobbin is one of the first skills every new sewist needs to master. Your sewing machine uses two threads to create stitches: the upper thread from the spool and the lower thread from the bobbin.
When a bobbin is wound or inserted incorrectly, you may experience tangled thread, skipped stitches, uneven tension, or a machine that refuses to sew. Fortunately, the process becomes quick and easy once you understand the basic steps.
Because sewing machines vary slightly, always keep your machine’s manual nearby. However, the following instructions will work for most modern sewing machines.
What Is a Bobbin?
A bobbin is a small spool that holds the lower thread used by your sewing machine. It sits underneath the needle plate inside the bobbin area.
As you sew, the needle carries the upper thread down through the fabric. The sewing machine’s hook catches that thread and loops it around the bobbin thread, forming a complete stitch.
Your machine may use one of two common bobbin systems:
- A top-loading bobbin, also called a drop-in bobbin
- A front-loading bobbin, which uses a removable bobbin case
Before purchasing extra bobbins, check your sewing machine manual to determine the correct bobbin size and type. Bobbins that look similar are not always interchangeable.
Supplies You Will Need
Before getting started, gather the following items:
- Your sewing machine
- An empty bobbin that fits your machine
- A spool of sewing thread
- Your sewing machine manual
- Small scissors or thread snips
For most projects, wind the bobbin with the same type and color of thread you are using as your upper thread.
How to Wind a Bobbin
Although the exact layout varies by machine, most sewing machines follow the same basic bobbin-winding process.
Step 1: Place the Thread on the Spool Pin
Place your spool of thread onto the sewing machine’s spool pin.
Some machines have a vertical spool pin, while others use a horizontal one. If your machine has a horizontal spool pin, place the correct spool cap over the thread spool to hold it securely in place.
The cap should be slightly larger than the end of the spool without pressing tightly against the thread.
Step 2: Follow the Bobbin-Winding Thread Guide
Pull the thread from the spool and guide it through the bobbin-winding path shown on your machine.
This usually involves wrapping the thread around a small tension disc or metal guide on the top of the machine. Many sewing machines have printed arrows or diagrams showing the correct path.
Make sure the thread sits securely around the bobbin-winding tension disc. This helps the thread wind evenly onto the bobbin.
Step 3: Thread the Bobbin
Locate the small hole near the top edge of the empty bobbin.
Insert the thread through the hole from the inside of the bobbin toward the outside. Pull several inches of thread through the hole.
Some newer machines allow you to place the thread through a guide on the bobbin-winding spindle instead. Follow the instructions provided for your specific machine.
Step 4: Place the Bobbin on the Bobbin-Winding Spindle
Place the empty bobbin onto the bobbin-winding spindle, making sure it is pushed down securely.
Slide the spindle toward the bobbin-winding position. On many machines, the spindle moves to the right. You may hear or feel it click into place.
Moving the spindle usually tells the machine to switch from regular sewing mode to bobbin-winding mode.
Step 5: Begin Winding the Bobbin
Hold the loose end of the thread firmly.
Press the foot pedal gently or use the machine’s start button. Allow the bobbin to wind several times, then stop the machine.
Trim the loose thread tail close to the top of the bobbin. This prevents the thread tail from becoming tangled as the bobbin continues winding.
Start the machine again and allow the bobbin to wind at a steady, moderate speed.
Step 6: Stop When the Bobbin Is Full
Many modern sewing machines stop winding automatically when the bobbin is full. If your machine does not stop automatically, stop winding when the thread is close to the outer edge of the bobbin.
Do not overfill the bobbin. An overfilled bobbin may not fit properly into the bobbin case and can interfere with smooth stitching.
Step 7: Remove the Bobbin
Release the foot pedal or stop button.
Slide the bobbin-winding spindle back to its original sewing position. Remove the bobbin from the spindle and cut the thread connecting it to the spool.
Your bobbin is now ready to insert into the sewing machine.
How to Insert a Top-Loading Bobbin
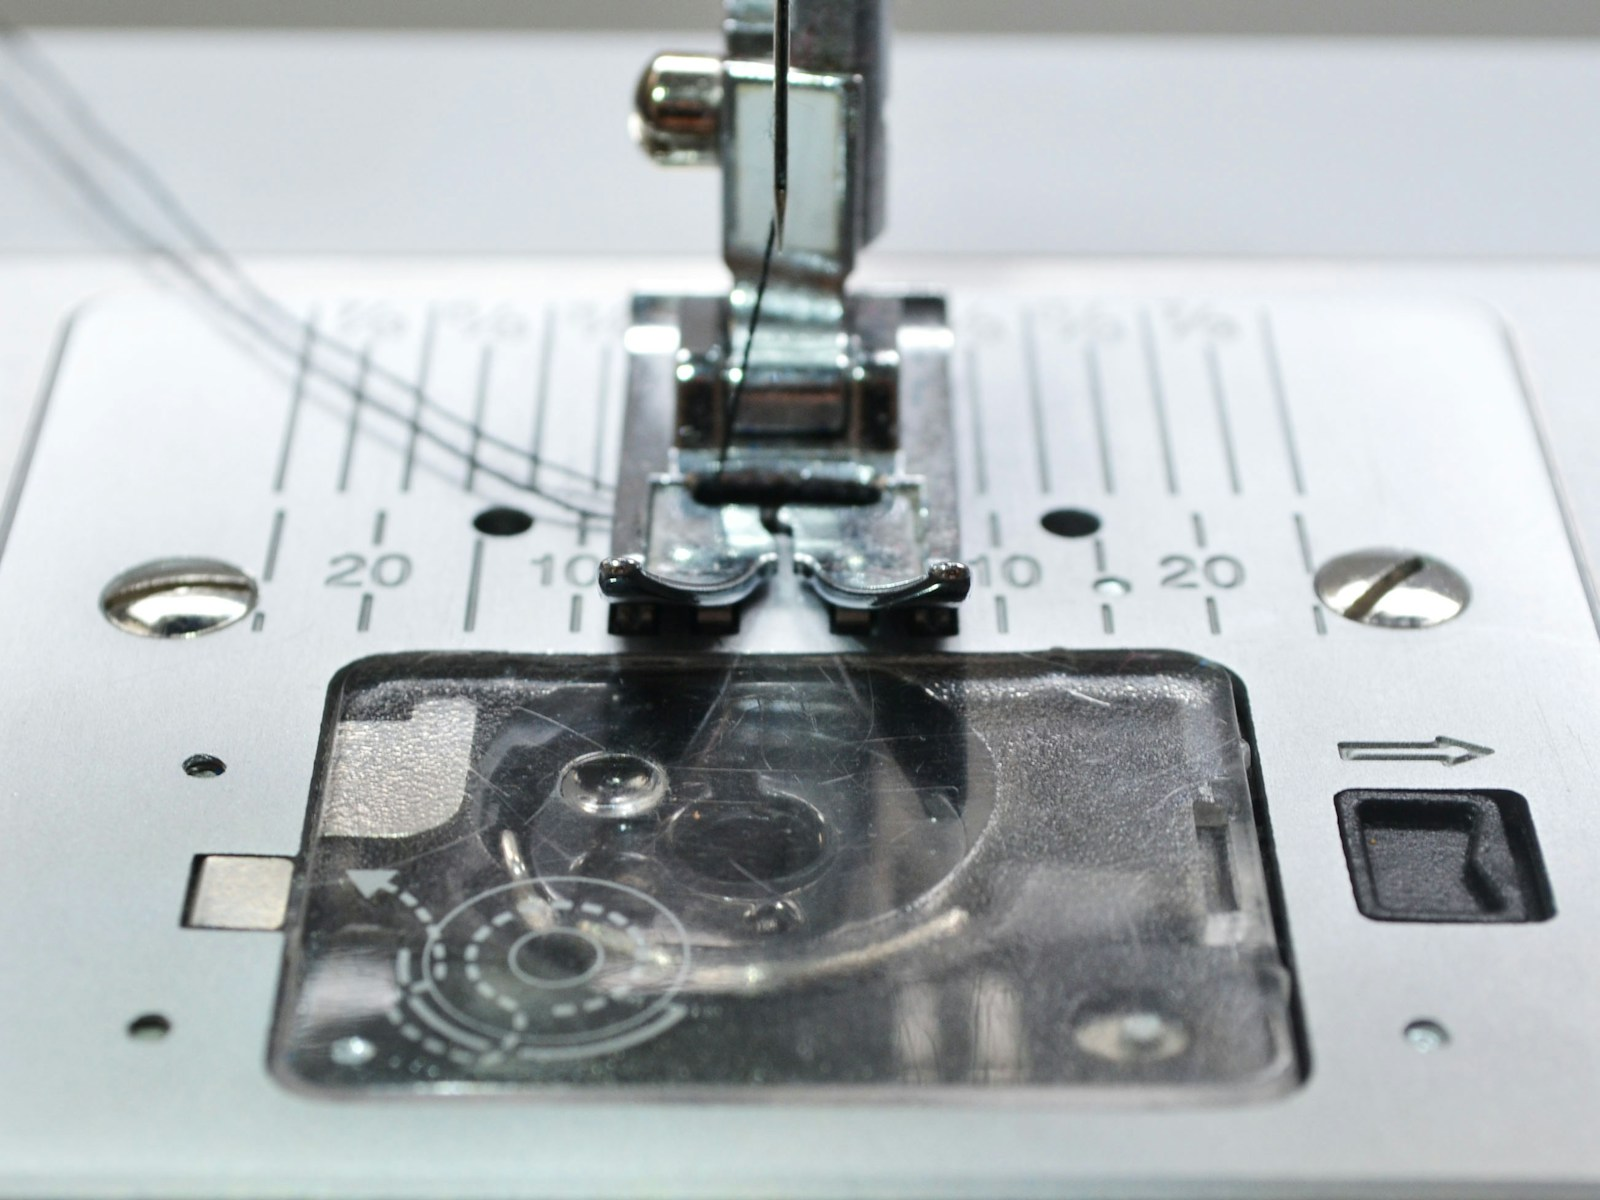
A top-loading bobbin drops into a compartment underneath a clear or removable cover near the needle plate.
Step 1: Raise the Needle
Turn the handwheel toward you until the needle reaches its highest position.
Raise the presser foot as well. This makes it easier to place the bobbin correctly.
For additional safety, turn off the sewing machine while inserting the bobbin.
Step 2: Remove the Bobbin Cover
Slide or lift the bobbin cover according to your machine’s design.
Set the cover aside where it will not be misplaced.
Step 3: Position the Bobbin Correctly
Hold the bobbin so the thread unwinds in the direction shown in your machine’s diagram.
On many top-loading machines, the thread unwinds counterclockwise, forming a shape similar to the letter “P.” However, this is not true for every machine, so check the diagram printed beside the bobbin area or consult your manual.
Place the bobbin flat inside the bobbin compartment.
Step 4: Pull the Thread Through the Guide
Hold the bobbin gently with one finger so it does not move.
Pull the thread into the first slot or guide. Continue following the marked path around the tension spring and toward the thread cutter.
Pulling the thread through this path places it under the correct amount of tension.
Some machines have a built-in cutter that trims the thread automatically. Other machines require you to leave a thread tail several inches long.
Step 5: Replace the Bobbin Cover
Place the bobbin cover back over the compartment and make sure it clicks securely into place.
Your machine may now be ready to sew. Some models automatically bring up the bobbin thread when you begin stitching. Other models require you to pull the bobbin thread up manually.
How to Insert a Front-Loading Bobbin
A front-loading bobbin sits inside a removable metal or plastic bobbin case.
Step 1: Open the Bobbin Area
Raise the needle to its highest position and turn off the sewing machine.
Remove the accessory compartment if necessary, then open the small door covering the bobbin area.
Step 2: Remove the Bobbin Case
Hold the small hinged latch on the bobbin case and pull the case toward you.
The latch helps keep the bobbin from falling out while you remove or insert the case.
Step 3: Place the Bobbin Into the Case
Hold the bobbin case in one hand and place the wound bobbin inside it.
Make sure the thread unwinds in the direction shown in your sewing machine manual. On many front-loading machines, the thread forms a clockwise direction when placed into the case.
Step 4: Pull the Thread Through the Slot
Pull the thread into the narrow slot along the edge of the bobbin case.
Guide it under the tension spring until the thread comes out through the opening. Leave a thread tail approximately four to six inches long.
Give the thread a gentle pull. The bobbin should rotate smoothly without falling out of the case.
Step 5: Reinsert the Bobbin Case
Hold the bobbin case by its latch.
Align the case with the center pin inside the machine’s bobbin area. Push it firmly into place until it clicks or feels secure.
Release the latch and close the bobbin-area door.
How to Bring Up the Bobbin Thread
Some sewing machines require you to bring the bobbin thread up through the needle plate before sewing.
Hold the upper thread gently with your left hand.
With your right hand, turn the handwheel toward you for one complete rotation. The needle will move down into the machine and then return to its highest position.
Gently pull the upper thread. A loop of bobbin thread should appear through the needle plate.
Use your fingers, a seam ripper, or a small pair of scissors to pull the loop completely through. Place both thread tails underneath the presser foot and toward the back of the machine.
Never turn the handwheel away from you unless your machine’s manual specifically instructs you to do so. Turning it in the wrong direction can cause the thread to jam.
Common Bobbin Problems and Solutions
Even experienced sewists occasionally have bobbin problems. Most issues can be corrected with a few simple adjustments.
The Thread Is Winding Unevenly
If the thread piles up on one side of the bobbin, check that it is correctly placed around the bobbin-winding tension guide.
Also make sure the bobbin is pushed fully onto the winding spindle.
Do not guide the thread with your fingers while the bobbin is winding unless your sewing machine manual recommends it.
The Bobbin Thread Is Tangling
Large loops or tangled thread underneath the fabric often indicate a problem with the upper threading rather than the bobbin.
Remove the upper thread and rethread the machine with the presser foot raised. Then remove and reinsert the bobbin, making sure the thread passes through the correct tension guide.
The Bobbin Will Not Turn
The bobbin may be inserted in the wrong direction, wound too tightly, overfilled, or damaged.
Remove the bobbin and confirm that it is the correct type for your machine. Inspect it for cracks, warping, or rough edges.
The Bobbin Case Falls Out
For a front-loading system, make sure the bobbin case is aligned correctly and pushed in until it clicks.
The small finger or notch on the bobbin case must usually fit into a matching opening inside the machine.
The Machine Makes a Knocking or Grinding Sound
Stop sewing immediately.
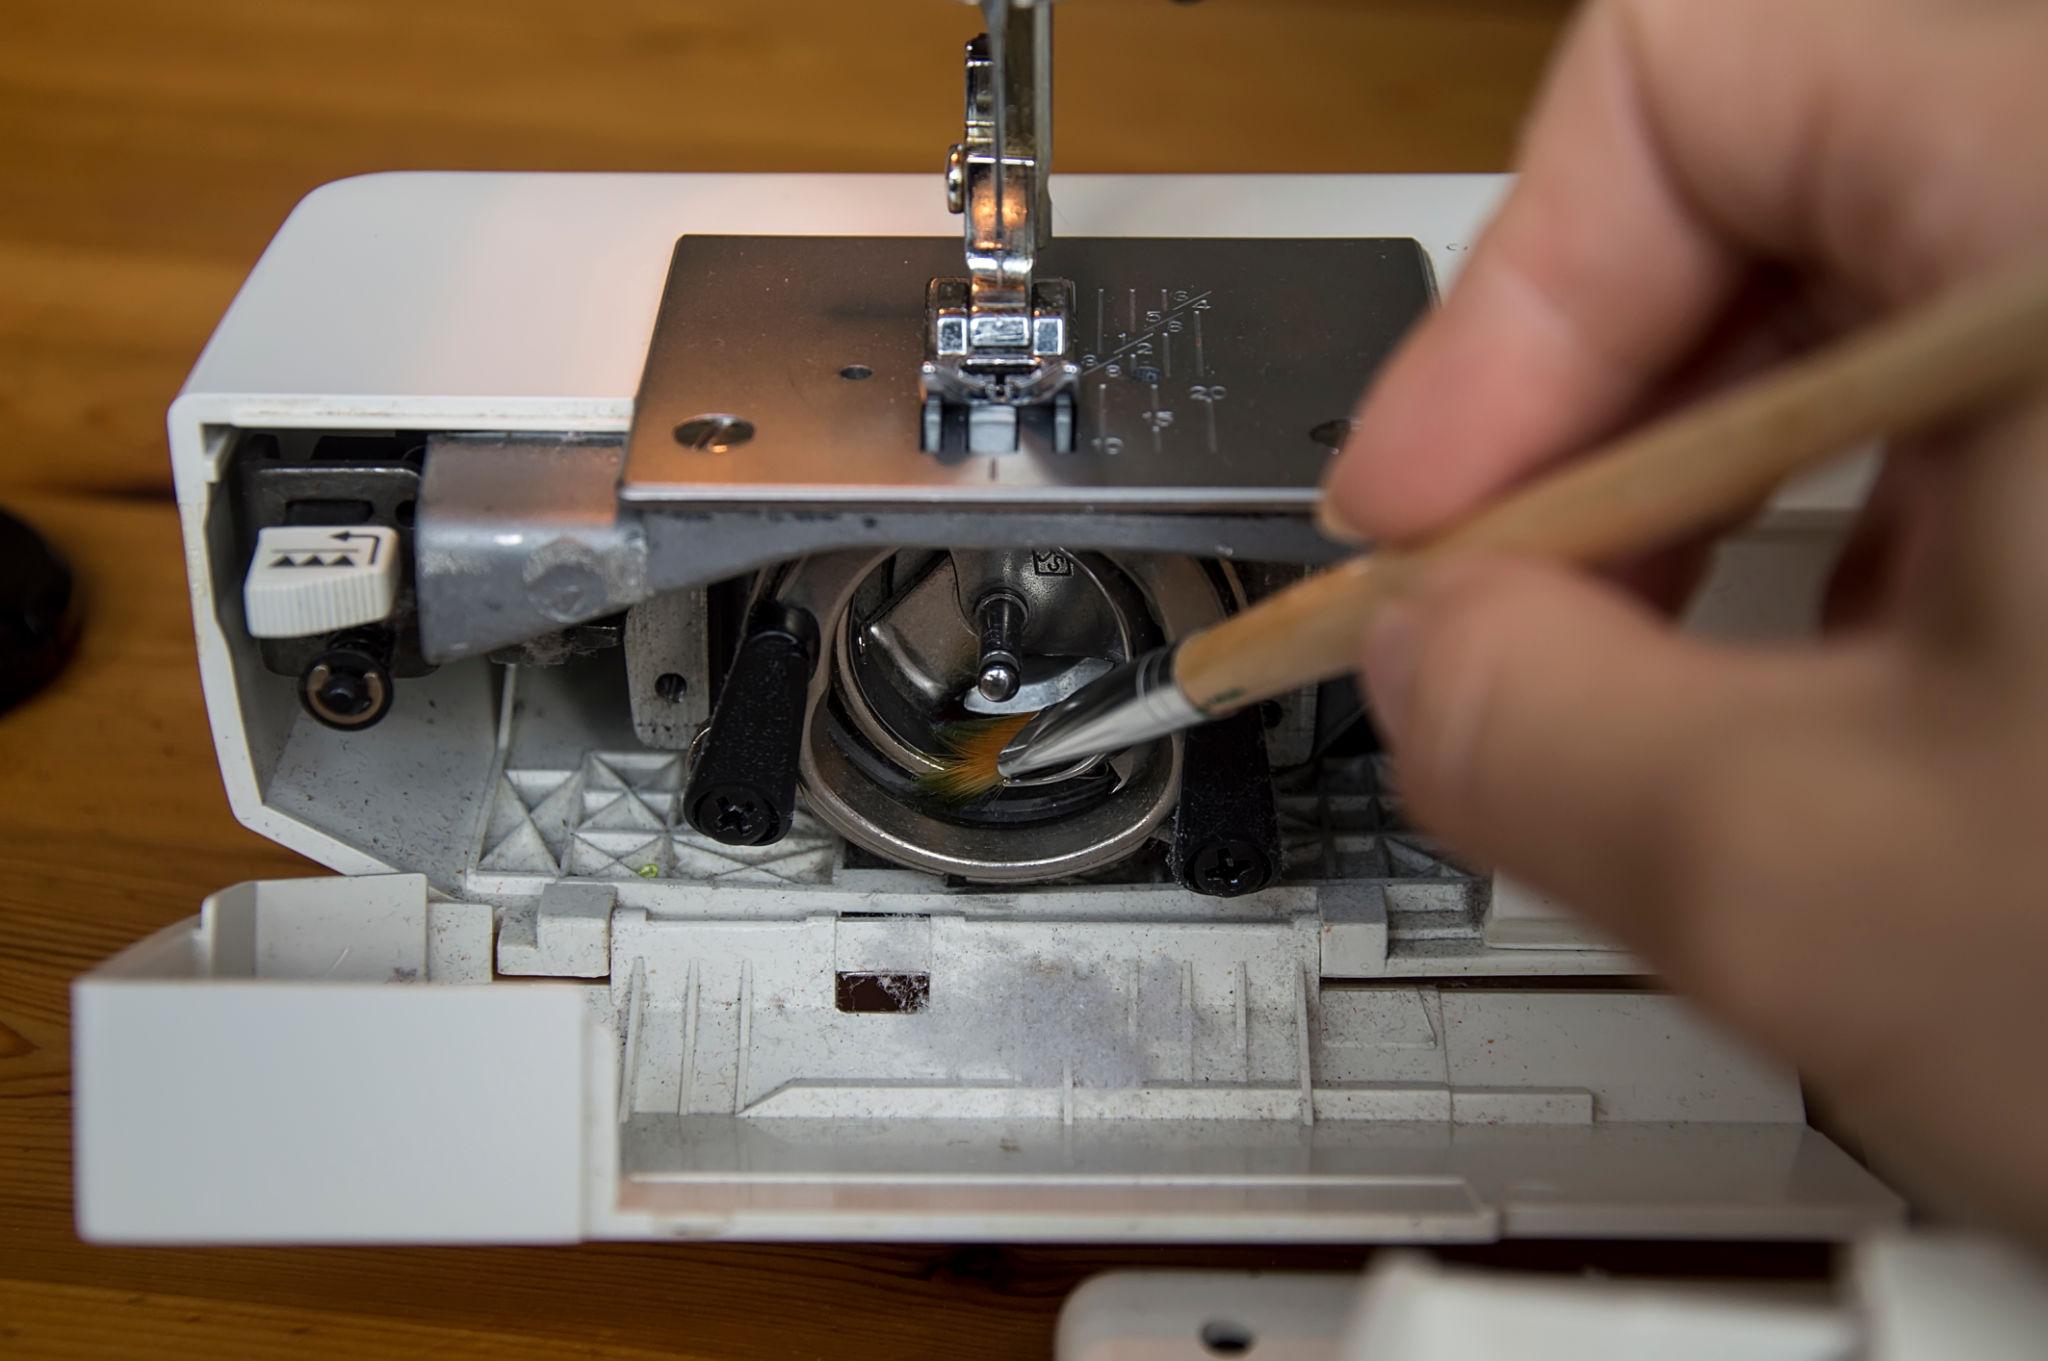
Turn off the machine and remove the bobbin, bobbin case, and any tangled thread. Check the bobbin area for lint, broken thread, or a bent needle.
Do not continue sewing if the machine still makes an unusual sound after cleaning and rethreading it.
Helpful Bobbin Tips for Beginners
Use these tips to prevent common sewing problems:
- Use only bobbins recommended for your sewing machine model.
- Wind the bobbin at a moderate speed.
- Do not overfill the bobbin.
- Replace cracked, chipped, bent, or warped bobbins.
- Keep several bobbins wound in your most frequently used thread colors.
- Store bobbins in a covered case to prevent tangling.
- Clean lint from the bobbin area regularly.
- Avoid winding a new thread color over leftover thread already on the bobbin.
- Test your stitches on a fabric scrap before beginning your project.
- Recheck both the upper thread and bobbin whenever stitches look uneven.
Can You Wind a Bobbin While Sewing?
Some sewing machines allow bobbin winding while the needle remains threaded, but many require the bobbin-winding spindle to be engaged separately.
On older machines, you may need to disengage the handwheel before winding the bobbin. This prevents the needle from moving while the bobbin winds.
Always follow your machine’s instructions rather than forcing a lever, spindle, or handwheel.
How Full Should a Bobbin Be?
A bobbin should be evenly filled with thread without extending beyond its outer edges.
Most machines stop winding at the appropriate level. If you must stop it manually, leave a small amount of space between the thread and the bobbin’s outer rim.
An overfilled bobbin may drag inside the case, cause inconsistent tension, or prevent the bobbin cover from closing.
Final Thoughts
Winding and inserting a bobbin may feel confusing the first few times, but it quickly becomes part of your normal sewing routine.
The most important things to remember are to use the correct bobbin, follow the proper threading path, place the bobbin in the correct direction, and avoid overfilling it. When a sewing machine begins tangling or stitching unevenly, removing and reinserting the bobbin is often one of the fastest ways to solve the problem.
Take your time, refer to your sewing machine manual, and practice the process a few times before beginning a large project. Once you can confidently wind and insert a bobbin, you will be ready to tackle many more sewing skills and projects.