Cutting fabric is one of those sewing steps that feels simple… until something shifts, stretches, frays, or ends up just slightly off. And when fabric is expensive, even a small mistake can feel painful.
The good news? A few smart fabric cutting habits can save you time, reduce waste, and help your sewing projects turn out better from the very beginning. Whether you are cutting pieces for a garment, quilt, bag, or small handmade gift, these tips will help you make the most of every yard.
Why Fabric Cutting Matters
A sewing project is only as accurate as the pieces you start with. If your fabric pieces are stretched, crooked, or cut off-grain, you may run into problems later like:
- Seams that do not line up
- Garments that twist or hang strangely
- Pattern pieces that do not fit together
- Extra fabric waste
- More time spent fixing mistakes
Taking a few extra minutes during the cutting stage can save you a lot of frustration once you sit down at the machine.
1. Press Your Fabric Before Cutting
Before you cut anything, give your fabric a good press.
Wrinkles and folds can distort the fabric, which means your pattern pieces may not be as accurate as you think. Pressing helps the fabric lay flat so you can cut clean, even pieces.
This is especially important for cotton, linen, flannel, and woven fabrics that crease easily.
Time-saving tip: Press your fabric right after prewashing so it is ready to use when you start your project.
2. Prewash Fabric When Needed
Prewashing is not always fun, but it can prevent costly surprises later.
Many fabrics shrink after washing. If you skip this step and sew your project first, the finished item may shrink, twist, or no longer fit correctly after its first wash.
Prewash fabric when you are making:
- Clothing
- Bowl cozies
- Reusable kitchen items
- Baby gifts
- Items that will be washed often
- Quilts or home projects made from washable cotton
For fabrics that should not be prewashed, such as specialty fabric or dry-clean-only material, follow the care instructions instead.
3. Use the Right Cutting Tool
The tool you use can make a big difference.
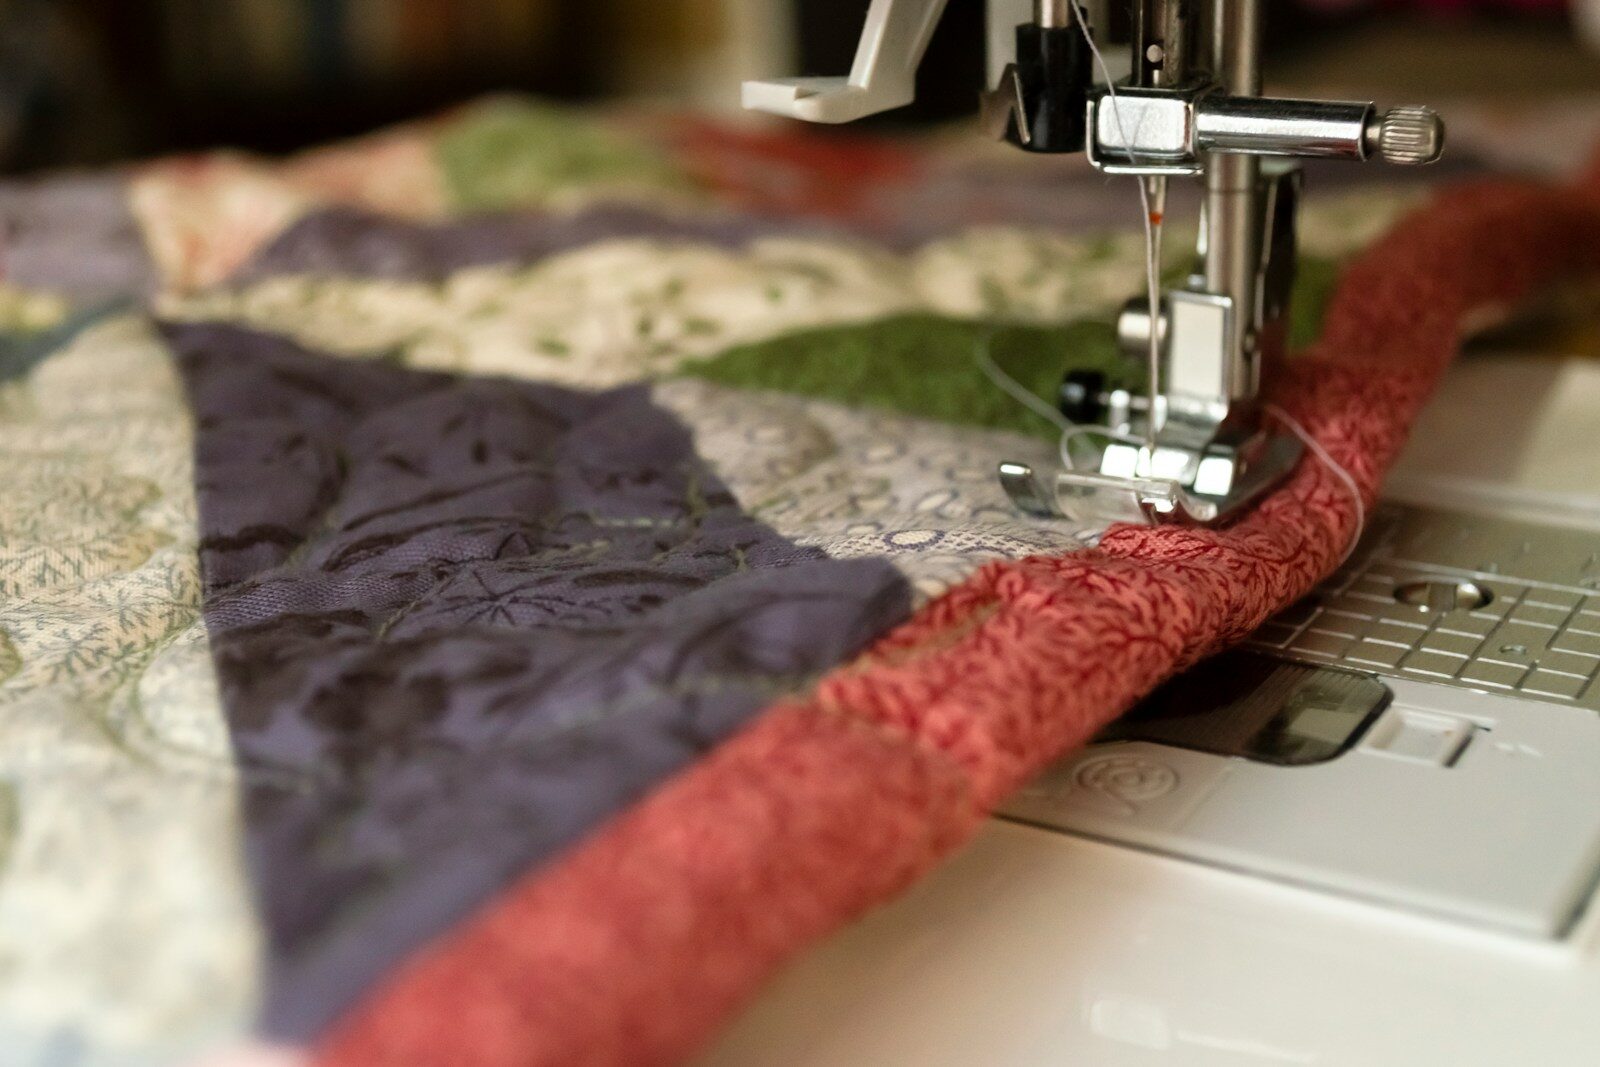
Fabric scissors are great for cutting curves, small pieces, and detailed pattern shapes. A rotary cutter works well for straight lines, quilting cotton, strips, squares, and repetitive cuts.
To save money, protect your tools:
- Use fabric scissors only for fabric
- Replace rotary blades when they become dull
- Cut on a proper cutting mat
- Avoid cutting over pins with scissors or rotary cutters
A sharp tool gives you cleaner edges and helps prevent fabric from shifting while you cut.
4. Check the Grainline
The grainline is one of the most important parts of fabric cutting, especially for clothing.
Most sewing patterns include a grainline arrow on each pattern piece. This arrow should be parallel to the selvage edge of the fabric.
When pieces are cut off-grain, the fabric may stretch or hang incorrectly. This can make a finished project look uneven even if your sewing is perfect.
Quick tip: Measure from both ends of the grainline arrow to the selvage. Both measurements should be the same before cutting.
5. Lay Out All Pattern Pieces Before Cutting
Before you start cutting, place all of your pattern pieces on the fabric first.
This helps you make sure everything fits and prevents those frustrating moments when you realize you cut one piece in the wrong direction or wasted a section of fabric you needed later.
This is especially helpful when working with:
- Directional prints
- Plaids
- Stripes
- Nap fabrics like velvet or corduroy
- Limited yardage
- Expensive fabric
Taking time to plan your layout can save both fabric and money.
6. Pay Attention to Directional Fabric
Some prints only face one direction. Think animals, flowers, text, holiday designs, or anything with a clear top and bottom.
If you cut one piece upside down, it may stand out in the finished project.
Before cutting, decide which direction the print should face. Then make sure every pattern piece is placed correctly.
For projects like bags, bowl cozies, aprons, or clothing, this little step makes the finished item look much more professional.
7. Use Pattern Weights Instead of Pins
Pins are useful, but they can sometimes lift or distort the pattern piece, especially with delicate fabric.
Pattern weights are a quick alternative. You can use store-bought weights or simple items you already have, such as washers, soup cans, or small heavy objects.
Pattern weights are especially helpful when using a rotary cutter because they keep the pattern flat without creating bumps.
8. Cut Single Layer for Better Accuracy
Many patterns tell you to cut fabric on the fold, which is convenient. But for slippery, thick, or expensive fabric, cutting in a single layer can be more accurate.
Single-layer cutting helps prevent the bottom layer from shifting while you cut the top layer.
This is a great method for:
- Slippery fabric
- Stretch fabric
- Plaids
- Stripes
- Directional prints
- Fabric scraps
- Pattern matching
It may take a little longer at first, but it can save time by preventing mistakes.
9. Label Your Pieces as You Cut
When several pieces look similar, label them right away.
You can use:
- Sticky notes
- Wonder clips with labels
- Small paper tags
- Washable fabric markers
- Painter’s tape on the wrong side of the fabric
Labeling helps you avoid mixing up pieces, especially if you are cutting multiple projects at once or working with lining, interfacing, and exterior fabric.
10. Save Usable Scraps
Not every scrap is worth keeping, but some fabric leftovers are perfect for smaller projects.
Save scraps that can be used for:
- Appliqué
- Pocket pieces
- Keychains
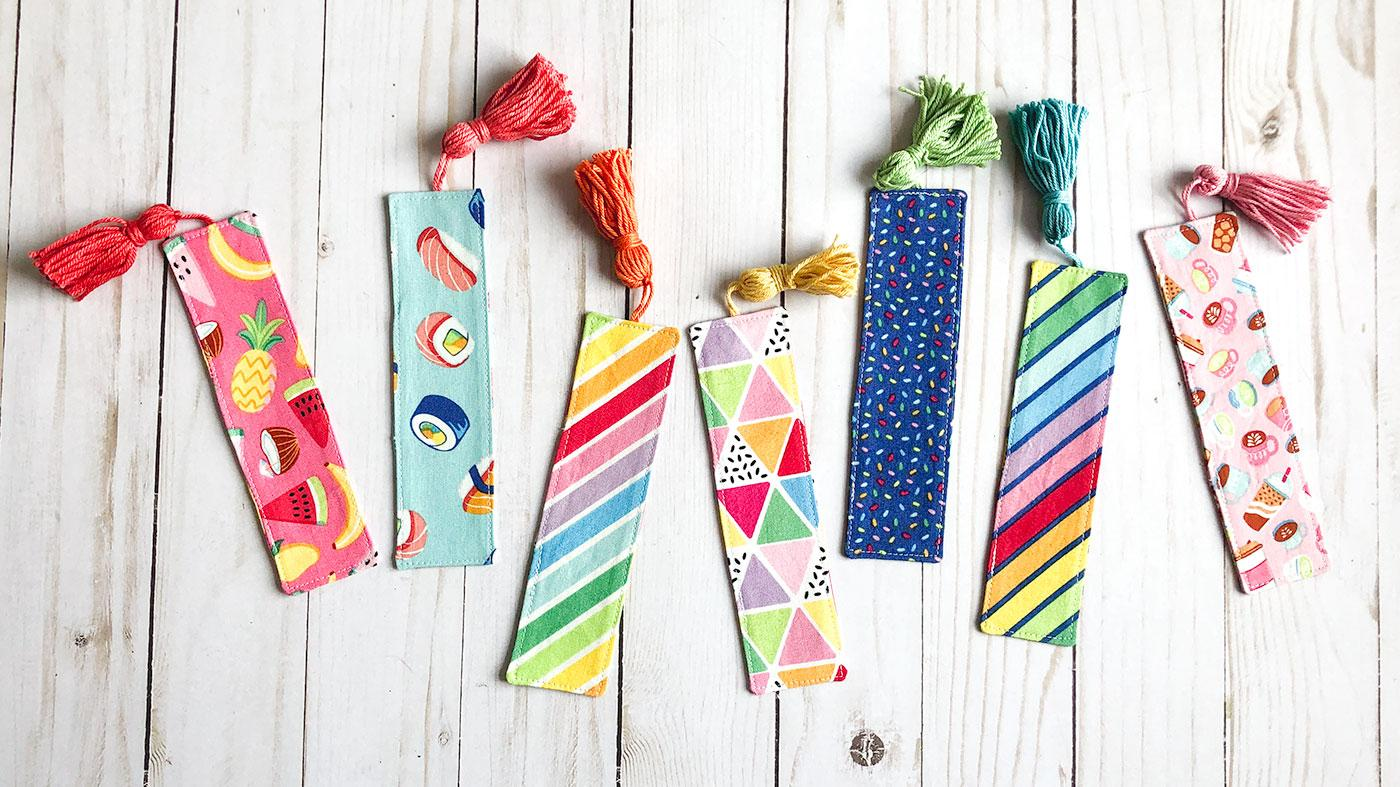
- Fabric bookmarks
- Dog bandanas
- Bowl cozy tabs
- Patchwork
- Small zipper pouches
- Practice stitching
To avoid clutter, sort scraps by size or fabric type. Keep only what you realistically plan to use.
A simple scrap bin can save money when you need small pieces for future projects.
11. Cut Interfacing at the Same Time
If your project uses interfacing, do not wait until later to cut it.
Cutting all pieces at the same time keeps your project organized and helps you avoid going back to the cutting table repeatedly.
To save even more time, group your project pieces by fabric type:
| Category | Examples |
|---|---|
| Main fabric | Exterior pieces, front/back pieces |
| Lining fabric | Interior pieces, pocket lining |
| Interfacing | Fusible fleece, woven interfacing |
| Extras | Straps, tabs, binding |
This makes the sewing process smoother because everything is ready before you begin.
12. Keep a Cutting Checklist Nearby
A simple cutting checklist can help prevent expensive mistakes.
Before cutting, ask yourself:
- Did I prewash the fabric?
- Did I press the fabric?
- Is the fabric on grain?
- Are directional prints facing the right way?
- Did I check the fold line?
- Did I cut the correct number of pieces?
- Did I include interfacing and lining pieces?
- Did I transfer markings?
This is especially helpful when sewing late at night or working on several projects at once.
13. Transfer Markings Before Moving Pieces
Pattern markings are easy to forget, but they are there for a reason.
Mark darts, notches, pleats, buttonholes, pocket placement, and fold lines before removing the pattern pieces.
You can use:
- Fabric chalk
- Washable fabric pens
- Tailor’s tacks
- Clips for notches
- Small snips within the seam allowance
Accurate markings save time later because you will not have to guess where pieces should line up.
14. Keep Your Cutting Area Clear
A cluttered cutting table makes mistakes more likely.
Before starting, clear away extra fabric, old pattern pieces, pins, rulers, and anything you do not need. A clean workspace helps you see the grain, layout, and pattern markings more clearly.
You do not need a huge sewing room. Even a temporary table, kitchen island, or folding table can work well if the surface is clean and flat.
15. Measure Twice, Cut Once
It is an old saying for a reason.
Before cutting into your fabric, double-check your pattern placement, measurements, and fabric direction. This is especially important when working with expensive fabric or limited yardage.
A few extra seconds of checking can save you from having to buy more fabric or start the project over.
Final Thoughts
Fabric cutting may not be the most exciting part of sewing, but it is one of the most important. When your pieces are cut accurately, the rest of the project comes together more easily.
By pressing your fabric, checking the grainline, planning your layout, using sharp tools, and saving useful scraps, you can cut down on waste and make your sewing time more efficient.
The next time you start a project, slow down just a little during the cutting stage. Your future sewing self will thank you.
Subscribe to our newsletter!