**Disclaimer: This post contains affiliate links, meaning I may receive a small commission at no extra cost to you if you make a purchase.
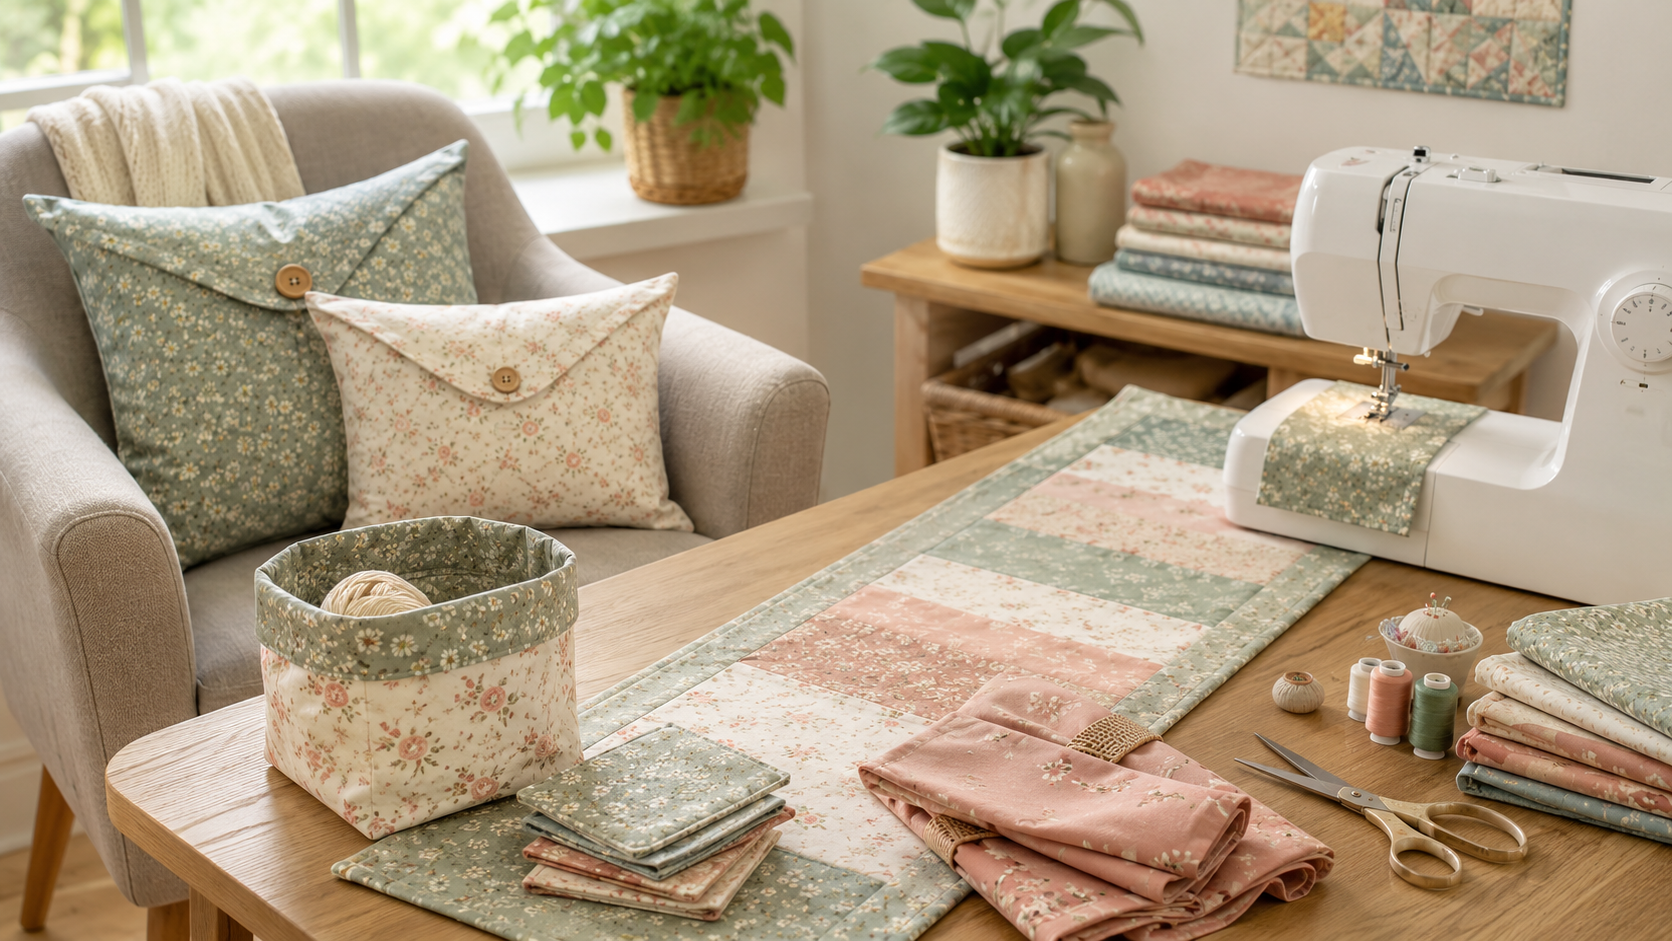
Making your own pillow covers is one of the easiest ways to update a room without spending a lot of money. With a small amount of fabric and a few straight seams, you can create a custom pillow cover that coordinates perfectly with your décor.
This beginner sewing project uses an envelope-style back, so you will not need to install a zipper or sew buttonholes. The finished cover can easily be removed whenever it needs to be washed or replaced.
Whether you are decorating your living room, bedroom, guest room, or porch, this simple DIY pillow cover is a practical project you can complete in an afternoon.
Why Make Your Own Pillow Covers?
Decorative pillows can quickly become expensive, especially when you want to change them with the seasons. Sewing your own covers allows you to reuse the same pillow inserts while changing the fabric whenever you want a new look.
DIY pillow covers are also a great way to:
- Practice sewing straight lines
- Use leftover fabric from other projects
- Coordinate pillows with curtains or furniture
- Create inexpensive seasonal decorations
- Make personalized handmade gifts
- Refresh a room without buying new furniture
Because this project only requires basic sewing skills, it is an excellent choice for someone who is just learning how to sew.
What Is an Envelope Pillow Cover?
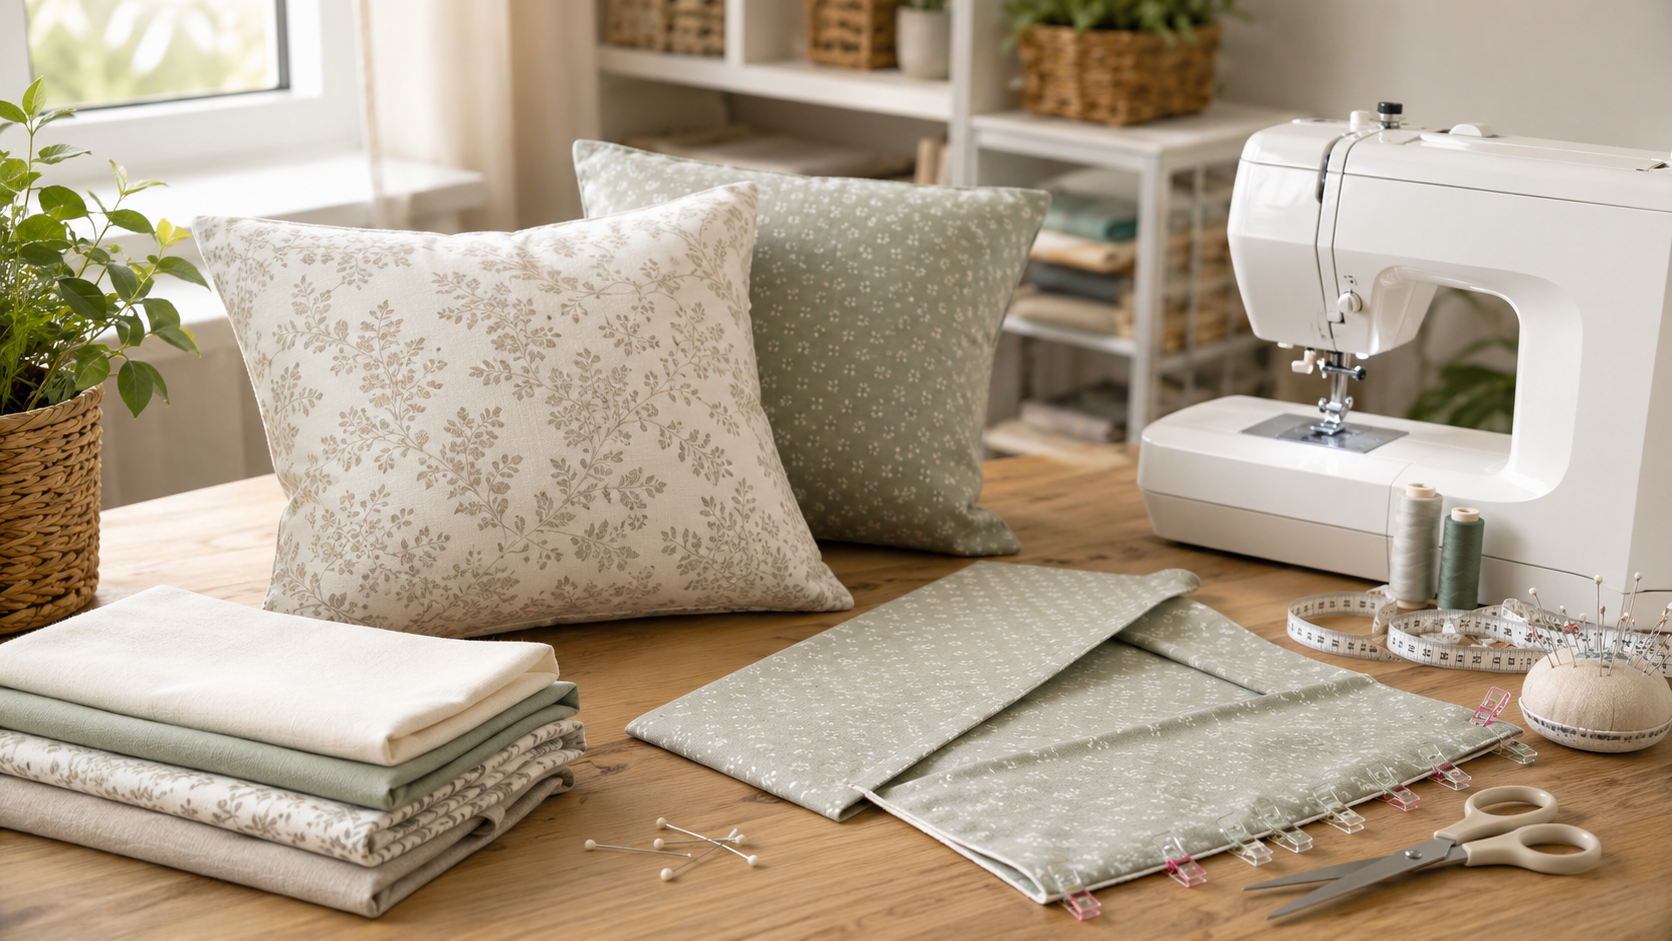
An envelope pillow cover has two overlapping fabric panels on the back. The pillow insert slides through the opening between the panels.
The overlapping pieces keep the pillow inside the cover without requiring a zipper, buttons, snaps, or other closures. This makes the envelope design one of the easiest pillow covers for beginners to sew.
Supplies You Will Need
Gather the following materials before beginning:
- Pillow insert
- Fabric
- Coordinating thread
- Sewing machine
- Fabric scissors or rotary cutter
- Cutting mat, if using a rotary cutter
- Ruler or measuring tape
- Straight pins or sewing clips
- Iron and ironing board
- Fabric marking pen or chalk
A universal sewing machine needle will work for most lightweight or medium-weight fabrics.
Choosing Fabric for Your Pillow Cover
Cotton quilting fabric is a good choice for your first pillow cover because it is easy to cut, press, and sew. Home décor fabric, canvas, linen blends, and lightweight upholstery fabric can also work well.
Avoid slippery, stretchy, or extremely thick fabric until you are more comfortable using your sewing machine.
When choosing fabric, consider where the pillow will be used. A decorative bedroom pillow may only need lightweight cotton, while a pillow used regularly on a sofa may benefit from a heavier and more durable fabric.
Always wash, dry, and press washable fabric before cutting it. Prewashing helps prevent the finished cover from shrinking later.
How Much Fabric Do You Need?
For one standard 18-inch envelope pillow cover, approximately one-half yard of 44-inch-wide fabric is usually enough.
You may need additional fabric when:
- Matching stripes or plaid patterns
- Centering a large design
- Using directional fabric
- Making larger pillow covers
- Adding piping or other decorative details
It is always helpful to purchase a little extra fabric in case you make a cutting mistake.
How to Measure Your Pillow Insert
Measure the pillow insert from one side seam to the other. Do not flatten or stretch the pillow while measuring.
For a cover with a relaxed fit, add one inch to the height and width of the pillow insert. This provides a one-half-inch seam allowance around the cover.
For example, an 18-inch pillow insert would require a front fabric piece measuring:
19 inches by 19 inches
Some people prefer a tighter, fuller-looking pillow cover and cut the front piece the same size as the pillow insert. Beginners may find it easier to add the seam allowance until they become comfortable adjusting pillow cover sizes.
Fabric Cutting Formula
Use the following formula to create an envelope pillow cover in almost any square size.
Front Panel
Cut one square using this formula:
Pillow size + 1 inch
For an 18-inch pillow:
Cut one 19-inch by 19-inch square.
Back Panels
Each back panel should be the same width as the front panel.
To calculate the height of each back piece, divide the pillow size by two and add four inches.
For an 18-inch pillow:
18 ÷ 2 = 9
9 + 4 = 13
Cut two back pieces measuring 19 inches wide by 13 inches tall.
The extra fabric creates the overlap needed for the envelope opening.
Cutting Measurements for Common Pillow Sizes
12-Inch Pillow Insert
- Front: 13 inches by 13 inches
- Back: Two pieces measuring 13 inches by 10 inches
16-Inch Pillow Insert
- Front: 17 inches by 17 inches
- Back: Two pieces measuring 17 inches by 12 inches
18-Inch Pillow Insert
- Front: 19 inches by 19 inches
- Back: Two pieces measuring 19 inches by 13 inches
20-Inch Pillow Insert
- Front: 21 inches by 21 inches
- Back: Two pieces measuring 21 inches by 14 inches
How to Sew an Envelope Pillow Cover
Step 1: Cut the Fabric
Use your pillow measurements to cut one front panel and two back panels.
Check the direction of the fabric design before cutting. All three pieces should face the same direction when the pillow is assembled.
If your fabric has a large motif, position the design so that the most attractive section appears in the center of the front panel.
Step 2: Hem the Back Panels
Place one back panel on your ironing board with the wrong side facing upward.
On one long edge, fold the fabric toward the wrong side by one-half inch. Press the fold with an iron.
Fold the edge over another one-half inch and press again. The raw edge should now be enclosed inside the hem.
Pin or clip the folded edge in place.
Repeat this process on one long edge of the second back panel.
Sew close to the inside folded edge of each hem using a straight stitch. Backstitch at the beginning and end of the seam.
These finished edges will form the envelope opening on the back of the pillow.
Step 3: Position the Front Panel
Place the front pillow panel on a flat surface with the right side of the fabric facing upward.
Smooth out the fabric so there are no wrinkles or folds.
Step 4: Add the First Back Panel
Place one back panel on top of the front panel with the right sides of the fabric facing each other.
Align the raw edges of the back panel with the top and side edges of the front panel. The hemmed edge should be positioned near the center of the pillow.
Pin or clip the layers together.
Step 5: Add the Second Back Panel
Place the second back panel on top of the first panel.
Align its raw edges with the bottom and side edges of the front panel. The finished hemmed edge should overlap the hemmed edge of the first back panel.
Pin or clip all the way around the pillow cover.
Make sure the layers remain smooth and the corners are properly aligned.
Step 6: Sew Around the Pillow Cover
Sew around all four sides using a one-half-inch seam allowance.
Backstitch at the beginning and end of the seam.
When you reach a corner, stop sewing with the needle lowered into the fabric. Lift the presser foot, turn the fabric, lower the presser foot, and continue sewing.
For extra strength, sew across the areas where the back panels overlap a second time. These sections receive additional stress when the pillow insert is placed inside the cover.
Step 7: Trim the Corners
Carefully trim the excess fabric from each corner without cutting through the stitching.
Trimming reduces bulk and helps the corners look sharper when the cover is turned right side out.
You can also finish the raw edges with a zigzag stitch or serger to help prevent fraying. This step is optional, but it can make the inside of the cover look neater.
Step 8: Turn and Press the Cover
Turn the pillow cover right side out through the envelope opening.
Gently push out each corner with a blunt turning tool, chopstick, or capped pen. Avoid using anything sharp that could poke through the fabric.
Press the cover with an iron, paying special attention to the seams and corners.
Step 9: Insert the Pillow Form
Slide one side of the pillow insert underneath the first back panel.
Compress the pillow slightly and guide the other side underneath the second panel. Adjust the corners until the pillow completely fills the cover.
Smooth the fabric and fluff the pillow.
Your handmade envelope pillow cover is now ready to use.
Beginner Sewing Tips
Press as You Sew
Pressing the fabric after each step makes the finished pillow cover look cleaner and more professional. Do not wait until the entire project is finished to use the iron.
Use Sewing Clips for Thick Fabric
Pins work well for cotton fabric, but sewing clips may be easier to use with canvas, upholstery fabric, or multiple layers.
Check the Fabric Direction
Before sewing, make sure prints, stripes, words, and directional designs are facing the correct way.
Reinforce the Envelope Opening
The opening receives the most stress when inserting and removing the pillow. Sew over these areas twice to keep the seams from pulling apart.
Test Your Stitch Length
A stitch length between 2.5 and 3 millimeters works well for most pillow cover fabrics. Test your stitches on a fabric scrap before sewing the project.
Start With an Inexpensive Fabric
Practice with quilting cotton, a flat sheet, or fabric from your existing stash before using expensive home décor material.
Ways to Customize Your Pillow Cover
Once you have mastered the basic envelope pillow cover, you can add details that make each pillow unique.
Consider adding:
- Fabric appliqué
- Machine embroidery
- Decorative trim
- Piping around the edges
- Pom-pom trim
- Ruffles
- Fabric paint
- Iron-on vinyl designs
- Patchwork blocks
- Monograms
- Contrasting back panels
You can also use different fabrics on the front and back to create a reversible or coordinated design.
Seasonal Pillow Cover Ideas
Envelope pillow covers make seasonal decorating easy because the covers fold flat when they are not being used.
Try making covers for:
- Valentine’s Day
- Easter
- Spring
- Summer
- Patriotic holidays
- Back-to-school season
- Fall
- Halloween
- Thanksgiving
- Christmas
- Winter
Instead of storing several bulky decorative pillows, you can store the covers in a drawer and reuse the same inserts throughout the year.
Can You Sell Handmade Pillow Covers?
Pillow covers can be a good product for craft fairs, online shops, and local markets. They are easier to store and ship than pillows that include inserts.
Before selling pillow covers, create accurate size descriptions and clearly state whether the pillow insert is included. Most handmade sellers offer the cover only to reduce shipping costs.
You can create themed collections for nurseries, holidays, farmhouse décor, pet lovers, teachers, weddings, or personalized gifts.
Be sure to calculate the cost of your fabric, thread, packaging, selling fees, and labor before setting your price.
Frequently Asked Questions
Should a Pillow Cover Be Smaller Than the Insert?
A slightly smaller cover can create a fuller-looking pillow. However, a cover that is too small may place stress on the seams.
Beginners may prefer adding seam allowances to the pillow measurement. After completing one cover, you can adjust future measurements based on the fit you prefer.
Do I Need a Serger?
No. You can make an envelope pillow cover using a basic sewing machine.
A zigzag stitch can be used to finish the raw edges if your fabric frays easily.
Can I Sew the Cover by Hand?
Yes, but hand sewing will take longer. Use small, strong stitches and reinforce the areas around the envelope opening.
How Do I Wash a Handmade Pillow Cover?
Follow the care instructions for the fabric you used. Most cotton pillow covers can be machine washed in cold water and dried on a low setting.
Remove the pillow insert before washing the cover.
Can I Use Outdoor Fabric?
Yes. Outdoor fabric is a good choice for porch or patio pillows. Use a needle and thread suitable for heavier fabric, and make sure the pillow insert is also intended for outdoor use.
Final Thoughts
A DIY envelope pillow cover is a simple and useful project for anyone learning how to sew. It requires only a few pieces of fabric, basic supplies, and straight stitching.
Once you understand the basic construction method, you can create pillow covers in different sizes, fabrics, and styles. They are perfect for updating your home, using fabric scraps, practicing new sewing techniques, or creating handmade gifts.
Choose a fabric you love, take your time measuring and pressing, and enjoy transforming a basic pillow insert into something made especially for your home.
SEO Meta Description
Learn how to sew an easy DIY envelope pillow cover with this beginner-friendly tutorial. Includes supplies, cutting formulas, measurements, sewing steps, and helpful tips.