One of the most frustrating parts of learning to sew is finishing a project and thinking, “Why doesn’t this look like the picture?” The fabric may be cute, the pattern may be right, and the stitches may technically hold everything together—but something still feels a little homemade.
The good news? Professional-looking sewing usually does not come from complicated techniques. It comes from small habits that make a big difference.
Whether you are sewing clothes, bags, home décor, or handmade gifts, these simple tips will help your finished projects look cleaner, neater, and more polished.
1. Press as You Sew
Pressing is one of the biggest differences between a beginner-looking project and a professional-looking one.
Notice I said press, not iron.
Ironing usually means sliding the iron back and forth across fabric. Pressing means placing the iron down, applying heat and steam, then lifting it back up. Pressing helps seams lie flat without stretching or distorting your fabric.
Press these areas as you sew:
- Seam allowances
- Hems
- Darts
- Pockets
- Facings
- Waistbands
- Collars
- Bag corners
It can feel annoying to get up and press every few steps, but it is worth it. A project that has been pressed throughout the process will look smoother, sharper, and much more finished.
Pro tip: Keep a small pressing cloth nearby, especially when working with delicate fabric, dark fabric, or anything that may get shiny from direct heat.
2. Cut Your Fabric Carefully
Professional sewing starts before you ever sit down at the machine.
If your pieces are cut unevenly, your seams may not line up correctly. Your hems may look crooked. Your garment may twist or hang strangely. Accurate cutting matters.
Before cutting, make sure your fabric is smooth, wrinkle-free, and lined up properly. Pay attention to the grainline on your pattern pieces. If a pattern piece is supposed to be placed on the fold, make sure it is truly on the fold and not slightly shifted.
Cutting tools that help:
- Sharp fabric scissors
- Rotary cutter
- Cutting mat
- Pattern weights
- Clear quilting ruler
- Washable fabric marker or chalk
Dull scissors can chew up fabric edges and make your project harder to sew neatly. If your scissors are dragging or snagging, it may be time to sharpen or replace them.
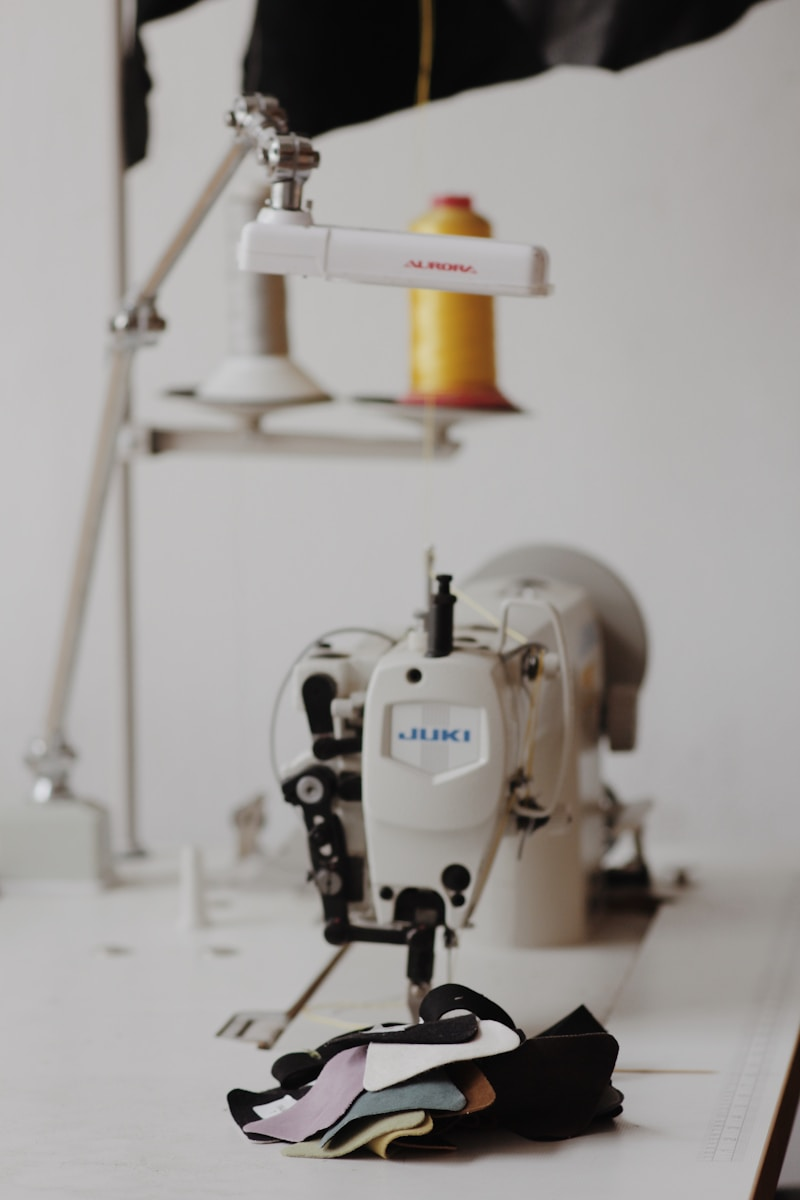
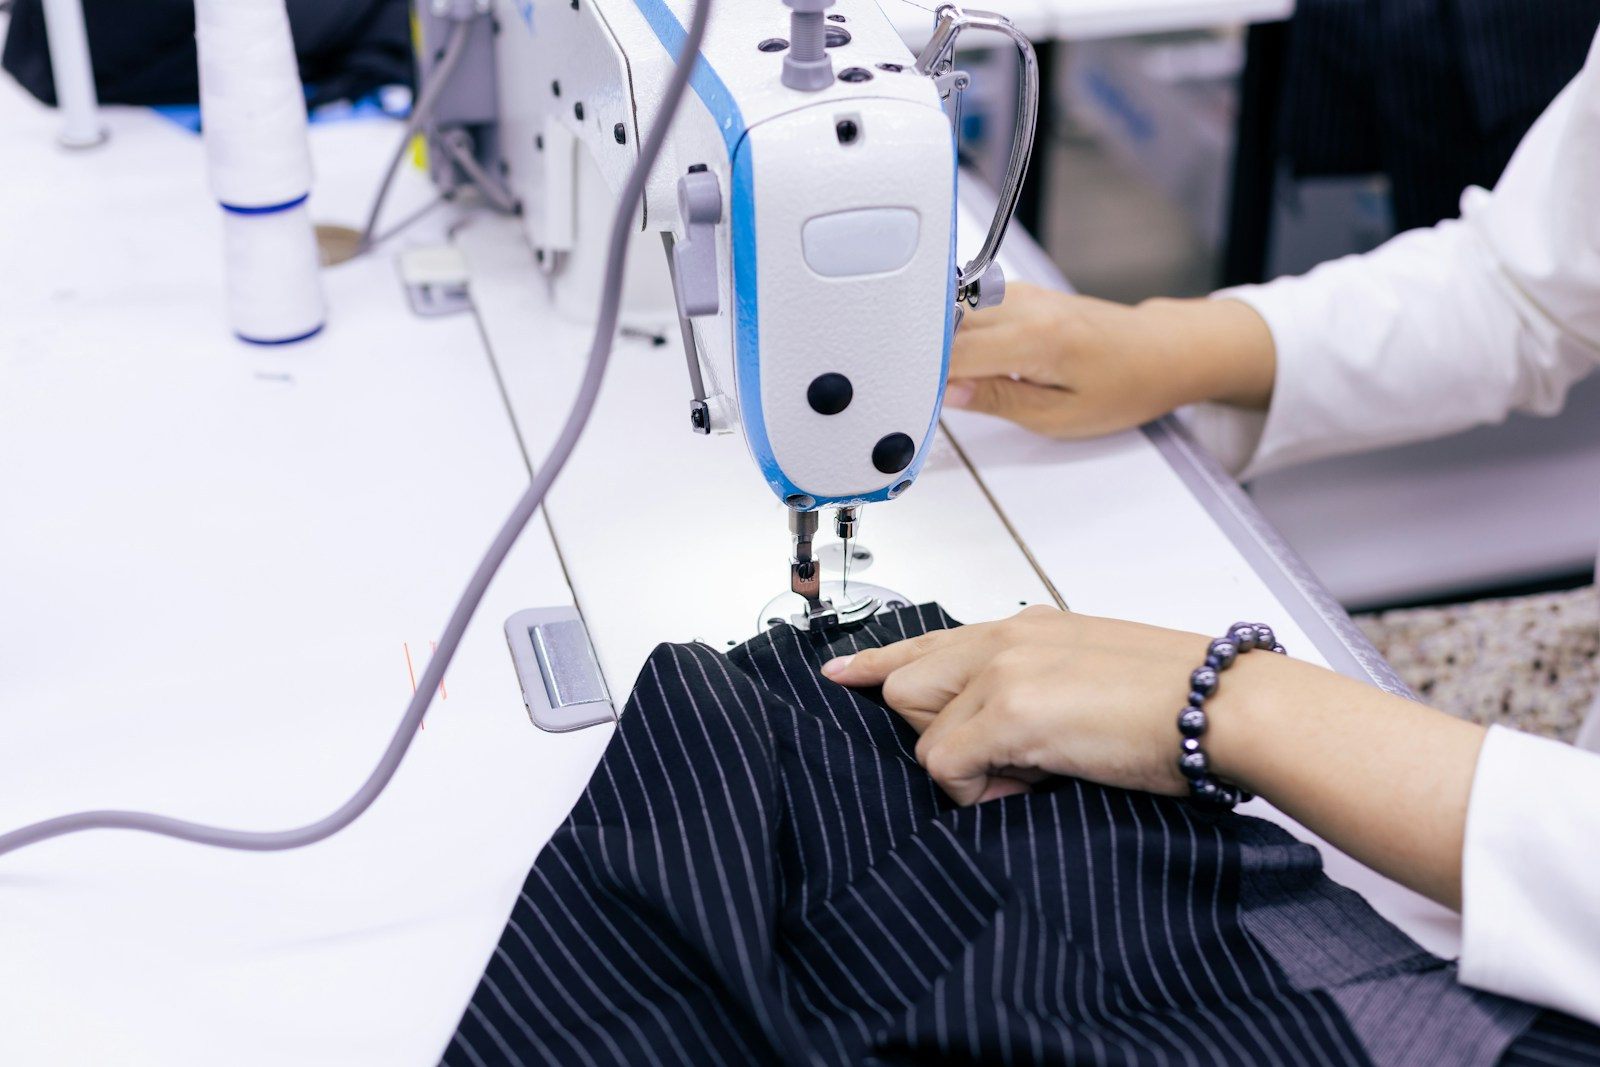
3. Use the Right Needle and Thread
A professional finish depends on using the right tools for the fabric.
A dull, bent, or incorrect needle can cause skipped stitches, puckering, thread nests, or tiny holes in your fabric. Your needle should match what you are sewing.
Basic needle guide:
| Fabric Type | Needle Type |
|---|---|
| Cotton, linen, quilting cotton | Universal needle |
| Knit fabric, jersey, stretch fabric | Ballpoint or stretch needle |
| Denim, canvas, heavy fabric | Denim or jeans needle |
| Delicate fabric | Microtex or sharp needle |
| Leather or faux leather | Leather needle |
Thread matters too. All-purpose polyester thread works well for many projects, but cheap thread can create lint, break easily, or make your stitches look uneven.
When in doubt, test your needle and thread on a scrap piece of fabric before sewing your actual project.
4. Sew with a Consistent Seam Allowance
Uneven seam allowances can make a project look messy fast.
Most patterns tell you what seam allowance to use, such as ⅜ inch, ½ inch, or ⅝ inch. Once you know the required seam allowance, use the guide on your sewing machine plate to keep your fabric lined up as you sew.
You can also add a strip of painter’s tape or washi tape to your sewing machine as a visual guide. This is especially helpful if the markings on your machine are hard to see.
Why seam allowance matters:
- Pattern pieces fit together correctly
- Garments fit better
- Corners are easier to match
- Hems look more even
- Seams look cleaner from the outside
Slow down around curves and corners. Speed is not the goal. Control is.
5. Finish Your Seams
Raw seams can fray, unravel, and make the inside of your project look unfinished.
You do not need a serger to have professional-looking seams. A serger is helpful, but there are several ways to finish seams with a regular sewing machine.
Seam finishes to try:
Zigzag stitch:
A quick and easy way to reduce fraying on woven fabrics.
Overcasting stitch:
Many sewing machines have an overcast stitch that mimics the look of a serged edge.
French seam:
A beautiful enclosed seam finish, especially for lightweight fabrics.
Pinking shears:
A simple option for fabrics that do not fray heavily.
Bias-bound seams:
A polished finish for unlined jackets, bags, and home décor projects.
Even if no one sees the inside, clean seams help your project last longer and feel more professional.
6. Match Your Thread Carefully
Thread color can make or break the final look of your project.
For construction seams, choose thread that blends into your fabric. For topstitching, you can choose matching thread for a subtle look or contrasting thread for a decorative effect.
When choosing thread, do not just hold the spool next to the fabric. Pull a strand of thread across the fabric. The color often looks different once it is stretched out in a single line.
For printed fabric, choose the background color or the darkest dominant color in the print. Darker thread usually blends better than thread that is too light.
7. Clip, Trim, and Grade Seams
Bulky seams are one reason handmade projects can look less polished.
After sewing, some seams need to be trimmed or clipped so they lie flat.
Use these techniques:
Trim:
Cut down excess seam allowance to reduce bulk.
Clip curves:
Make small snips into curved seam allowances so the fabric can spread when turned right side out.
Notch outward curves:
Remove tiny triangle-shaped pieces from curved edges to reduce bulk.
Grade seams:
Trim seam allowances to different widths so layers do not stack on top of each other.
This is especially important for collars, cuffs, bag corners, necklines, waistbands, and lined projects.
Just be careful not to clip through your stitching.
8. Pay Attention to Topstitching
Topstitching is visible, so it needs to be neat.
Professional-looking topstitching is usually straight, even, and intentional. It can be decorative, but it also helps hold seams, facings, and edges in place.
Tips for better topstitching:
- Use a longer stitch length
- Sew slowly
- Use matching thread unless you want contrast
- Keep your edge lined up with a guide
- Practice on scraps first
- Do not pull the fabric as you sew
A slightly longer stitch length often looks better for topstitching than your regular construction stitch. Try a stitch length around 3.0 and adjust based on your fabric.
For extra control, use an edge-stitch foot or a seam guide.
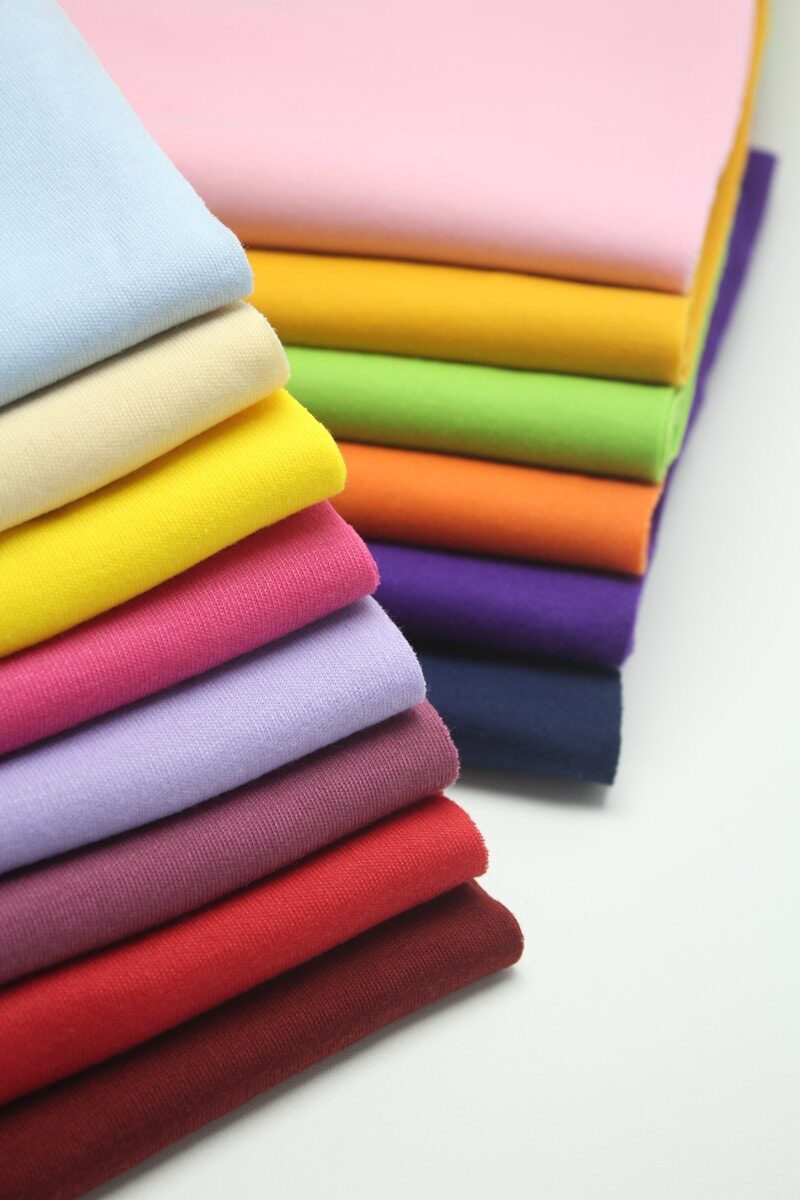
9. Choose the Right Fabric for the Project
Sometimes the problem is not your sewing. It is the fabric.
Some fabrics are harder to work with than others. Slippery, stretchy, thick, or loosely woven fabrics can be challenging, especially for beginners.
For a cleaner finish, choose fabric that matches the project and your current skill level.
Beginner-friendly fabrics:
- Quilting cotton
- Cotton lawn
- Linen blends
- Canvas
- Stable knits
- Flannel
- Chambray
More challenging fabrics:
- Satin
- Chiffon
- Velvet
- Lightweight rayon
- Very stretchy knits
- Faux leather
- Thick denim
- Sequined fabric
If you are making a pattern for the first time, consider sewing a test version with inexpensive fabric before cutting into your “good” fabric.
10. Use Interfacing When Needed
Interfacing gives fabric structure.
Skipping interfacing can make collars floppy, waistbands wrinkly, bags saggy, and buttonholes weak. Patterns usually tell you where to add interfacing for a reason.
Common places to use interfacing include:
- Collars
- Cuffs
- Waistbands
- Button plackets
- Bag straps
- Bag panels
- Zipper areas
- Facings
- Pockets
Choose interfacing that works with your fabric. Heavy interfacing on lightweight fabric can make a project stiff. Lightweight interfacing on heavy fabric may not provide enough support.
Always test a small piece first to make sure it fuses well and does not change the fabric in a way you dislike.
11. Make Your Hems Even
A wavy, crooked, or bulky hem can make an otherwise nice project look unfinished.
Take time to measure and press hems before sewing. Do not just fold and guess.
For garments, it helps to let the item hang for a while before hemming, especially if the fabric has stretch or drape. Some fabrics relax after hanging, which can change the length.
Hemming tips:
- Measure carefully
- Press before stitching
- Use clips or pins
- Try hem tape for tricky fabrics
- Use a blind hem for a dressier finish
- Use a walking foot for knits or bulky fabric
For curved hems, sew a row of basting stitches near the raw edge first. This helps ease the fabric into a smooth curve when you turn the hem up.
12. Fix Mistakes Instead of Sewing Past Them
Everyone makes sewing mistakes. The difference is whether you fix them.
It is tempting to ignore a crooked seam, puckered corner, or uneven topstitching line. But if it bothers you while sewing, it will probably bother you even more when the project is finished.
Keep a seam ripper nearby and use it when needed.
Mistakes worth fixing include:
- Crooked visible stitching
- Puckered seams
- Twisted straps
- Uneven hems
- Misaligned pockets
- Poorly placed labels
- Caught fabric layers
- Bulky corners that will not turn neatly
You do not have to redo every tiny thing, but visible mistakes are often worth correcting.
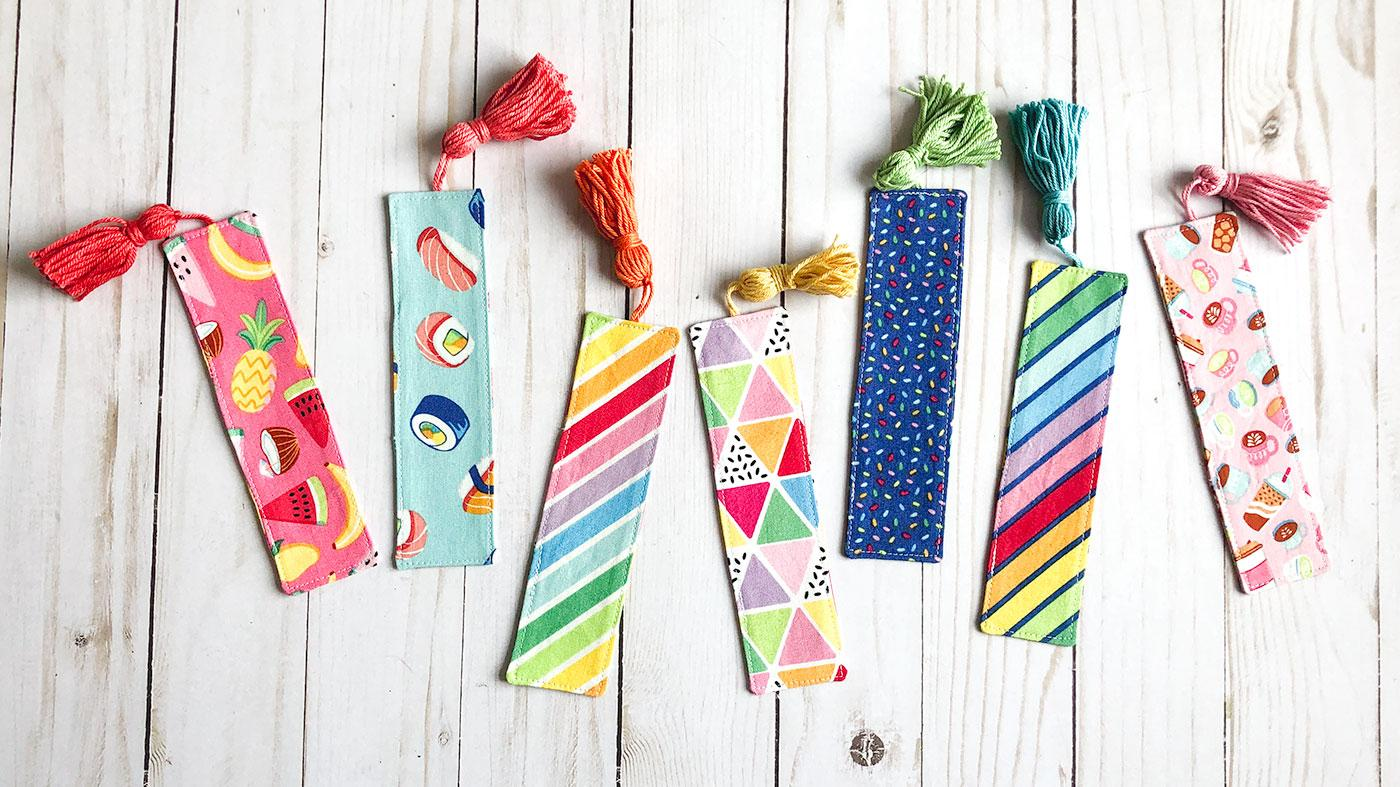
13. Add Small Finishing Details
Little details can make your sewing look more polished and intentional.
These do not have to be complicated. Sometimes one small detail makes the whole project look more professional.
Finishing details to consider:
- A neatly sewn label
- Coordinating lining
- Clean zipper ends
- Matching hardware
- Even button spacing
- Pressed corners
- Decorative topstitching
- Bound seams
- Bar tacks on stress points
- Thread tails clipped close
Before calling a project finished, give it a final inspection. Trim loose threads, press it one more time, and check that everything looks clean.
14. Slow Down on the Parts People Notice
Not every part of a project needs the same level of perfection.
Focus your attention on the areas people will see first.
For clothing, that may be the neckline, hem, sleeves, waistband, or front closure. For bags, it may be the zipper, straps, corners, and topstitching. For home décor, it may be the edges, corners, and pattern placement.
Slow down on visible areas and take your time. A neat finish in those spots can make the whole project look better.
15. Practice One Skill at a Time
Professional-looking sewing comes with practice, but you do not need to master everything at once.
Choose one skill to focus on in each project. Maybe this project is about better pressing. The next one might be about straighter topstitching. Another might be about cleaner seam finishes.
Over time, these skills become habits.
And once they become habits, your sewing starts looking more polished without feeling so difficult.
Final Thoughts
Making your sewing look professional is not about being perfect. It is about being careful with the details that matter.
Press your seams. Cut accurately. Use the right needle. Finish your seams. Slow down when topstitching. Trim loose threads. Fix the mistakes that bother you.
Those small steps add up.
The more you practice these habits, the more confident you will feel—and the more professional your handmade projects will look.
Subscribe to our newsletter!