Sewing machines are amazing when they work smoothly, but the second they start making weird noises, tangling thread, or skipping stitches, it can feel like the whole project is falling apart.
The good news? Most sewing machine problems are caused by simple things: threading mistakes, a dull needle, lint buildup, tension issues, or the wrong needle for the fabric. Before you pack up your machine and take it to the repair shop, try these easy fixes first.
Photo reference for blog: Use close-up photos of thread bunching, skipped stitches, the bobbin area, and a sewist checking the machine. The reference photos above show examples of the types of images that work well for this post. Make sure any photos you publish are your own, licensed stock photos, or images you have permission to use.
1. Thread Bunching Under the Fabric
Thread bunching under the fabric is one of the most common sewing machine problems. You may hear people call it “bird nesting” because the thread forms a messy nest underneath your project.
This usually looks like a big clump of thread on the underside of the fabric. Even though the mess is on the bottom, the problem is often with the top thread. Singer’s troubleshooting guide notes that thread looping underneath the fabric often happens when the upper tension or threading is incorrect.
Easy fixes:
- Rethread the top thread completely.
- Raise the presser foot while threading so the thread can sit correctly in the tension discs.
- Remove and reinsert the bobbin.
- Check that the bobbin is facing the correct direction.
- Clean lint from the bobbin area.
- Hold the thread tails when you start sewing.
- Replace the needle if it is dull or bent.
Photo to include: A close-up of tangled thread under the fabric or a “bird nest” thread mess near the presser foot.
2. Skipped Stitches
Skipped stitches happen when your sewing machine leaves gaps in the stitch line. Instead of a smooth row of stitches, you see missing spaces where the machine should have stitched.
Common causes:
- The needle is dull, bent, or inserted incorrectly.
- You are using the wrong needle for the fabric.
- The machine is not threaded correctly.
- The fabric is stretching while you sew.
- The thread and needle size do not match.
A bent needle can keep the bobbin hook from catching the thread properly, which can lead to skipped stitches.
Easy fixes:
- Replace the needle with a new one.
- Make sure the needle is pushed all the way up into the needle clamp.
- Use a ballpoint or stretch needle for knit fabric.
- Use a sharp or universal needle for woven cotton.
- Rethread the machine.
- Sew more slowly on thick, stretchy, or slippery fabric.
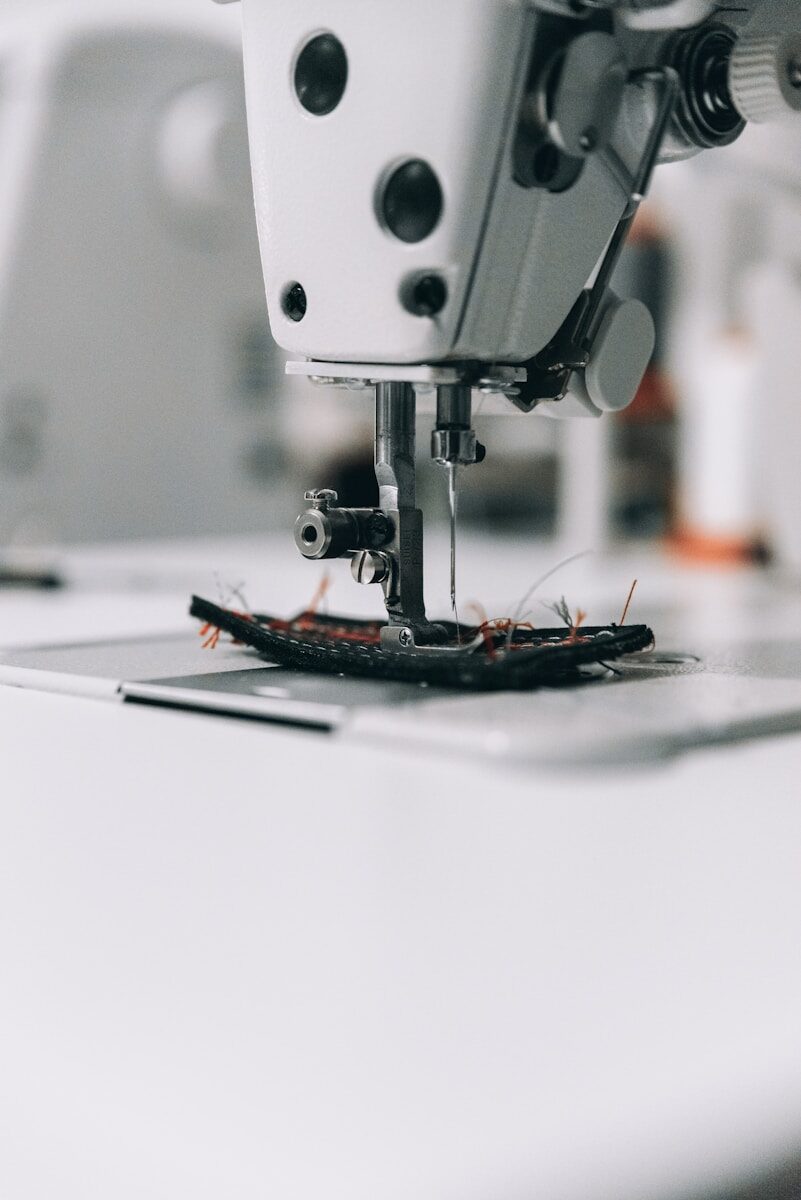
Photo to include: A close-up of fabric showing an uneven stitch line with obvious skipped stitches.
3. Thread Keeps Breaking
If your thread keeps snapping while you sew, stop and check the basics before adjusting everything at once.
Common causes:
- The machine is threaded incorrectly.
- The tension is too tight.
- The needle eye is too small for the thread.
- The thread is old or weak.
- The thread is catching on the spool.
- The needle has a burr or rough spot.
Easy fixes:
- Rethread the machine from the beginning.
- Lower the top tension slightly.
- Change the needle.
- Try a better-quality thread.
- Make sure the spool is unwinding smoothly.
- Check the needle plate for rough spots.
Photo to include: A broken thread near the needle or a thread spool that is catching as it unwinds.
4. Needle Keeps Breaking
A broken needle can be startling, especially if you are sewing quickly. It can happen from pulling the fabric, using the wrong needle, or sewing over something too thick too fast.
Easy fixes:
- Replace the needle.
- Use the correct needle size for your fabric.
- Do not pull the fabric from behind the presser foot.
- Sew slowly over bulky seams.
- Make sure the presser foot is attached correctly.
- Check that you are using the correct presser foot for the stitch.
The machine’s feed dogs are designed to move the fabric for you. Pulling the fabric can bend the needle and cause it to hit the needle plate.
Photo to include: A close-up of a broken or bent sewing machine needle beside a new needle.
5. Fabric Is Not Feeding Through
If the needle is moving but your fabric is not going anywhere, the problem may be with the feed dogs, presser foot, or stitch length.
Easy fixes:
- Make sure the presser foot is lowered.
- Check that the feed dogs are raised.
- Increase the stitch length.
- Clean lint from around the feed dogs.
- Avoid pushing or pulling the fabric.
- Use the correct presser foot.
This can also happen if you recently lowered the feed dogs for free-motion quilting or button sewing and forgot to raise them again.
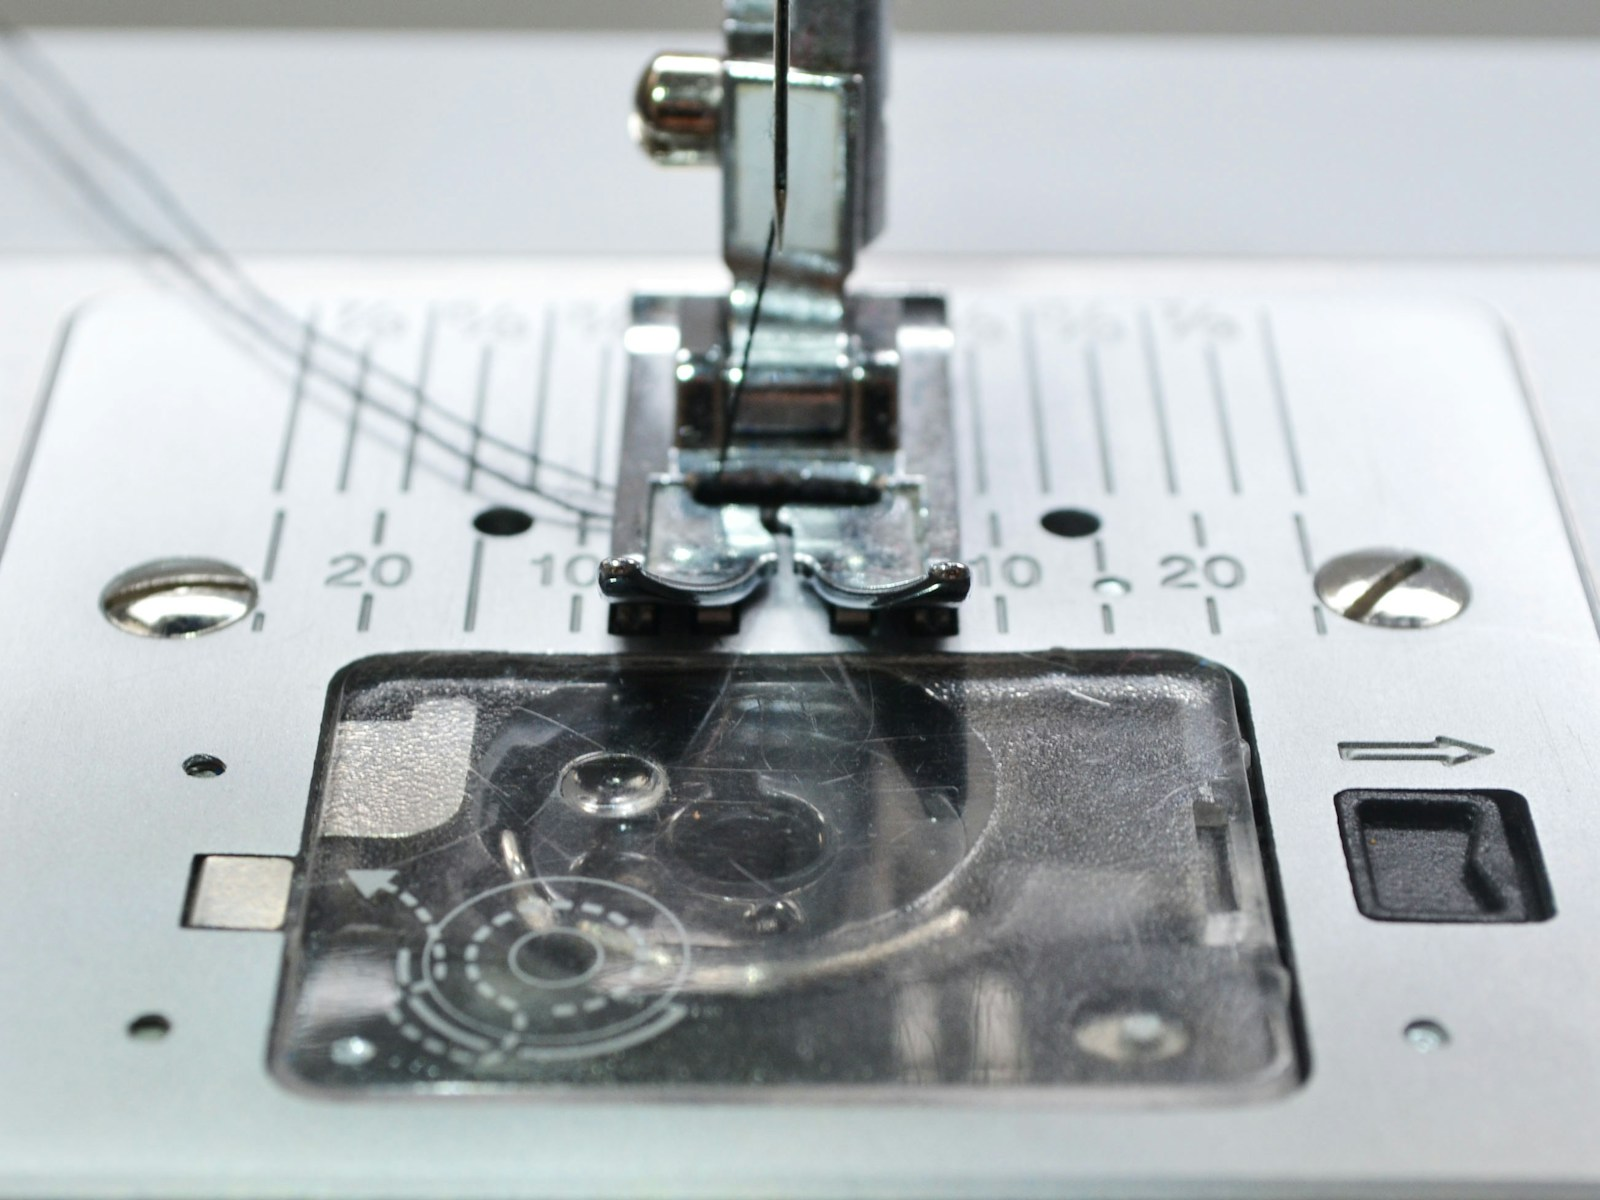
Photo to include: A close-up of the feed dogs under the presser foot, especially with the needle plate area visible.
6. Stitches Look Too Loose
Loose stitches may look loopy or uneven. You might see loops on the top, bottom, or both sides of your fabric.
Easy fixes:
- Rethread the machine with the presser foot raised.
- Check that the bobbin is inserted correctly.
- Increase the top tension slightly.
- Use the same thread weight in the top and bobbin.
- Test on a scrap of fabric before sewing your project.
The key is to adjust slowly. Change the tension one small step at a time, then test again.
Photo to include: A fabric scrap showing loose, loopy stitches next to a better tension test.
7. Stitches Look Too Tight
Tight stitches can cause the fabric to pucker. This is especially common on lightweight fabric.
Easy fixes:
- Lower the top tension slightly.
- Lengthen the stitch.
- Use a smaller needle for lightweight fabric.
- Use lighter-weight thread.
- Make sure the thread is not catching on the spool.
- Test on a scrap piece before sewing the real project.
If the fabric puckers, do not keep sewing and hope it will fix itself. Stop, adjust, and test.
Photo to include: A puckered seam on lightweight fabric beside a smooth seam for comparison.
8. Bobbin Thread Is Not Catching
Sometimes the top thread will not pick up the bobbin thread. This usually happens after changing the needle, bobbin, or thread.
Easy fixes:
- Reinsert the bobbin.
- Check that the bobbin is turning the correct direction.
- Rethread the top thread.
- Make sure the needle is inserted correctly.
- Hold the top thread tail.
- Turn the handwheel toward you slowly.
- Pull the bobbin thread loop up through the needle plate.
If the bobbin is not seated correctly, the machine cannot form stitches properly.
Photo to include: A hand pulling up the bobbin thread loop through the needle plate.
9. Machine Is Making a Loud Noise
A sewing machine should make some sound, but it should not grind, clunk, or sound like it is struggling. Loud noises often mean something is caught, dirty, loose, or incorrectly threaded.
Easy fixes:
- Stop sewing immediately.
- Turn off the machine.
- Remove the fabric carefully.
- Take out the bobbin.
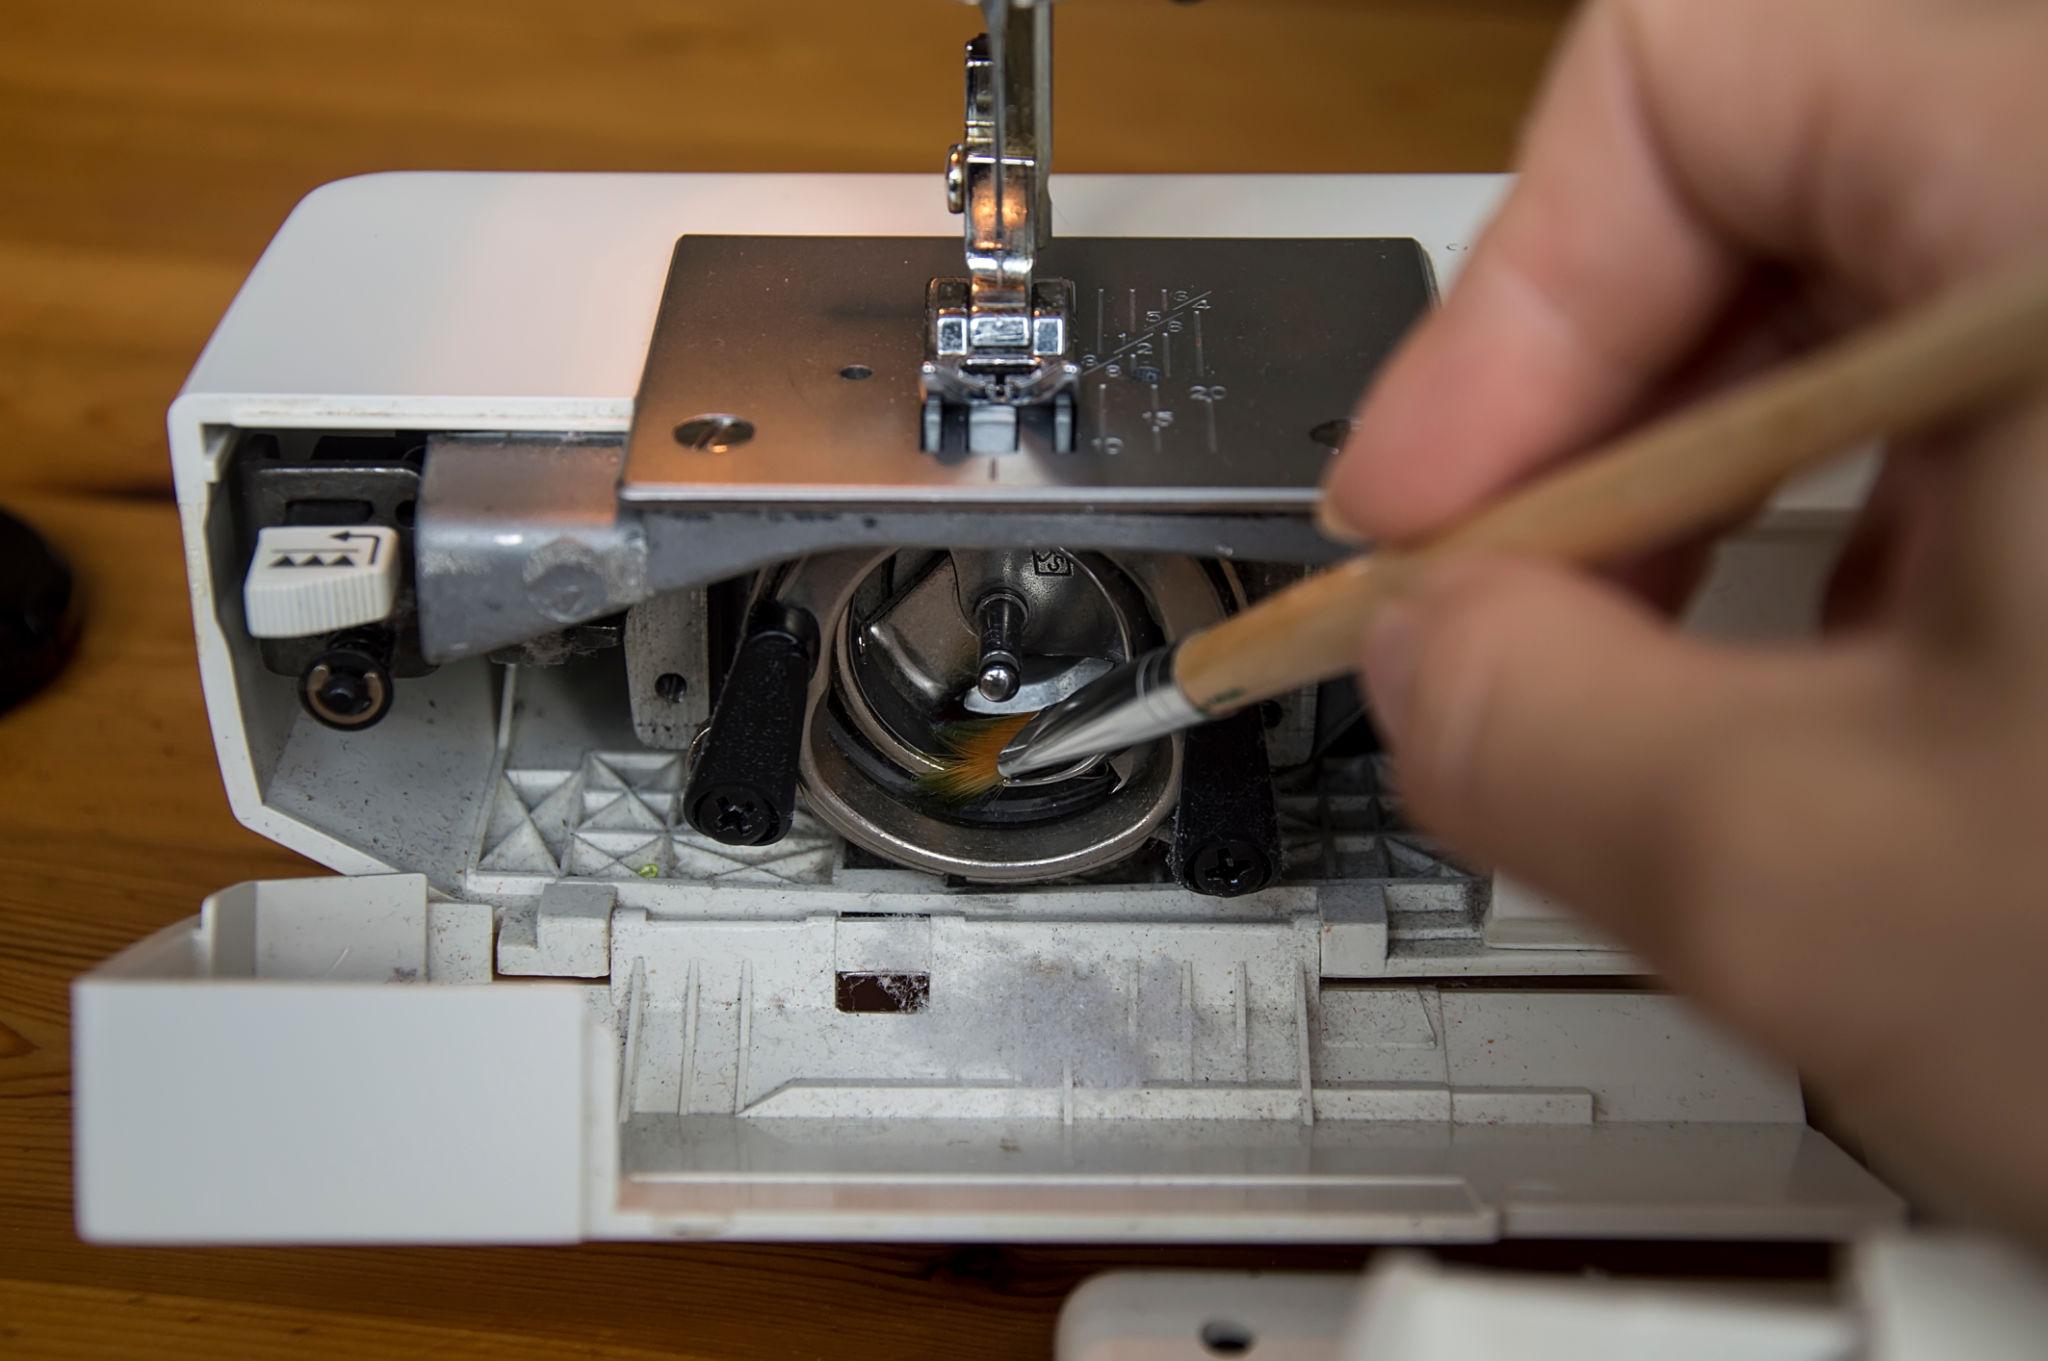
- Clean the bobbin area.
- Remove any loose thread pieces.
- Replace the needle.
- Check your machine manual before oiling.
Lint buildup can cause stitching problems, so regular cleaning matters. WeAllSew recommends removing the bobbin case and using a soft brush to clean lint from the bobbin area, and it cautions against pressurized air because it can push lint deeper into the machine.
Photo to include: A close-up of lint inside the bobbin area with a small cleaning brush nearby.
10. Fabric Gets Stuck in the Needle Plate
This often happens with thin fabric, slippery fabric, or when you start sewing too close to the edge.
Easy fixes:
- Start sewing a little farther from the fabric edge.
- Hold both thread tails for the first few stitches.
- Use a straight stitch needle plate if you have one.
- Place tissue paper or stabilizer under delicate fabric.
- Use a smaller needle.
- Shorten the stitch slightly at the beginning, then return to your normal stitch length.
This is one of those problems that looks worse than it is. Once the fabric is removed, rethread the machine and test on a scrap before trying again.
Photo to include: Lightweight fabric pulled into the needle plate opening.
11. Seams Are Wavy on Stretch Fabric
Stretch fabric can be tricky because it moves as you sew. If you pull on it even a little, the seam may end up stretched out and wavy.
Easy fixes:
- Use a stretch or ballpoint needle.
- Use a narrow zigzag stitch or stretch stitch.
- Do not pull the fabric while sewing.
- Use a walking foot if needed.
- Reduce presser foot pressure if your machine allows it.
- Add stabilizer for very stretchy fabric.
A straight stitch can pop on knits because it does not stretch very well. A narrow zigzag gives the seam a little more movement.
Photo to include: A wavy seam on knit fabric beside a smoother stretch stitch sample.
12. Machine Will Not Sew
If your machine turns on but will not sew, check the simple things first. Sometimes the issue is not a serious repair problem at all.
Easy fixes:
- Make sure the presser foot is lowered.
- Check that the bobbin winder is not engaged.
- Make sure the foot pedal is plugged in.
- Check that the needle is not broken.
- Remove any thread jammed in the bobbin area.
- Turn the handwheel slowly to see if anything is stuck.
On many machines, the needle will not move if the bobbin winder is pushed into winding position.
Photo to include: A close-up of the bobbin winder on top of the machine.
Quick Troubleshooting Checklist
Before you call for service, try this quick checklist:
- Rethread the top thread.
- Remove and reinsert the bobbin.
- Change the needle.
- Clean the bobbin area.
- Check the tension.
- Check the stitch length.
- Make sure the presser foot is down.
- Make sure the feed dogs are up.
- Test on scrap fabric.
Most sewing machine problems can be solved by rethreading, changing the needle, cleaning the bobbin area, or adjusting the tension.
When to Take Your Sewing Machine to a Professional
Sometimes the problem really does need a sewing machine technician. Take your machine in for service if:
- The handwheel will not turn.
- The needle keeps hitting the needle plate.
- The machine keeps jamming after cleaning and rethreading.
- The timing seems off.
- The machine smells hot or electrical.
- The machine makes a grinding sound.
- You have tried the basic fixes and nothing changes.
A professional cleaning and tune-up can make a big difference, especially if your machine has not been serviced in a long time.
Final Thoughts
Sewing machine problems are frustrating, but they are also completely normal. Every sewist deals with thread nests, skipped stitches, broken needles, and tension problems at some point.
The best thing you can do is slow down and troubleshoot one step at a time. Start with the easiest fixes first: rethread the machine, reinsert the bobbin, replace the needle, and clean out the lint.
Most of the time, that is all it takes to get back to sewing.
Subscribe to our newsletter!