Learning to sew can feel exciting and overwhelming at the same time. You finally sit down at your machine, thread it carefully, place your fabric under the presser foot… and then you realize there are buttons, dials, numbers, stitch options, tension settings, and symbols everywhere.
The good news is that you do not need to understand every single setting on your sewing machine to get started.
Most beginner sewing projects only require a few basic settings. Once you understand what those settings do, your stitches will look better, your seams will be stronger, and you will feel much more confident at your machine.
Here are the sewing machine settings every beginner should know.
1. Straight Stitch
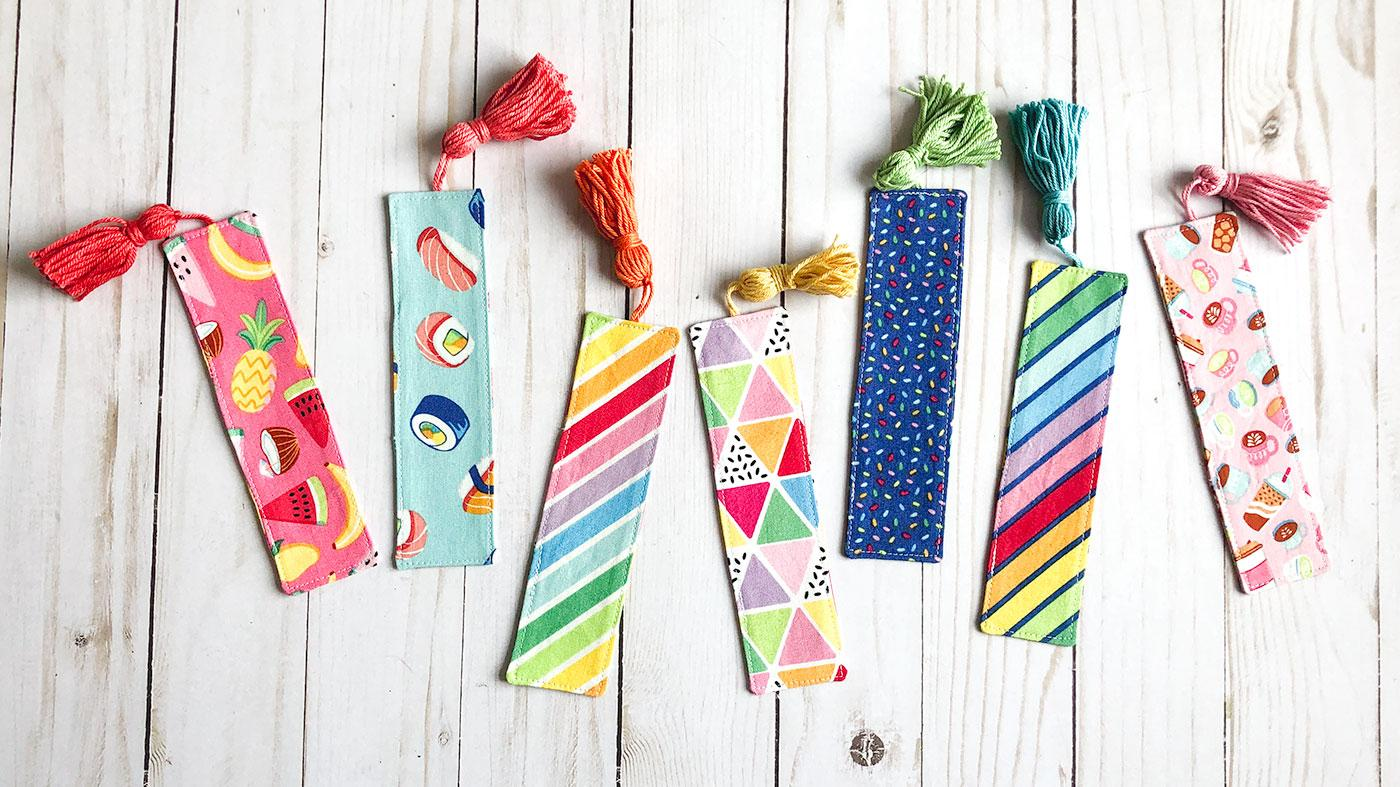
The straight stitch is the most basic and most used stitch on a sewing machine. If you are sewing seams, topstitching, making simple bags, sewing pillows, or working on beginner projects, this is probably the stitch you will use most often.
A straight stitch looks exactly like it sounds: a straight line of stitches.
When to Use a Straight Stitch
Use a straight stitch for:
- Basic seams
- Topstitching
- Quilting lines
- Hems on woven fabric
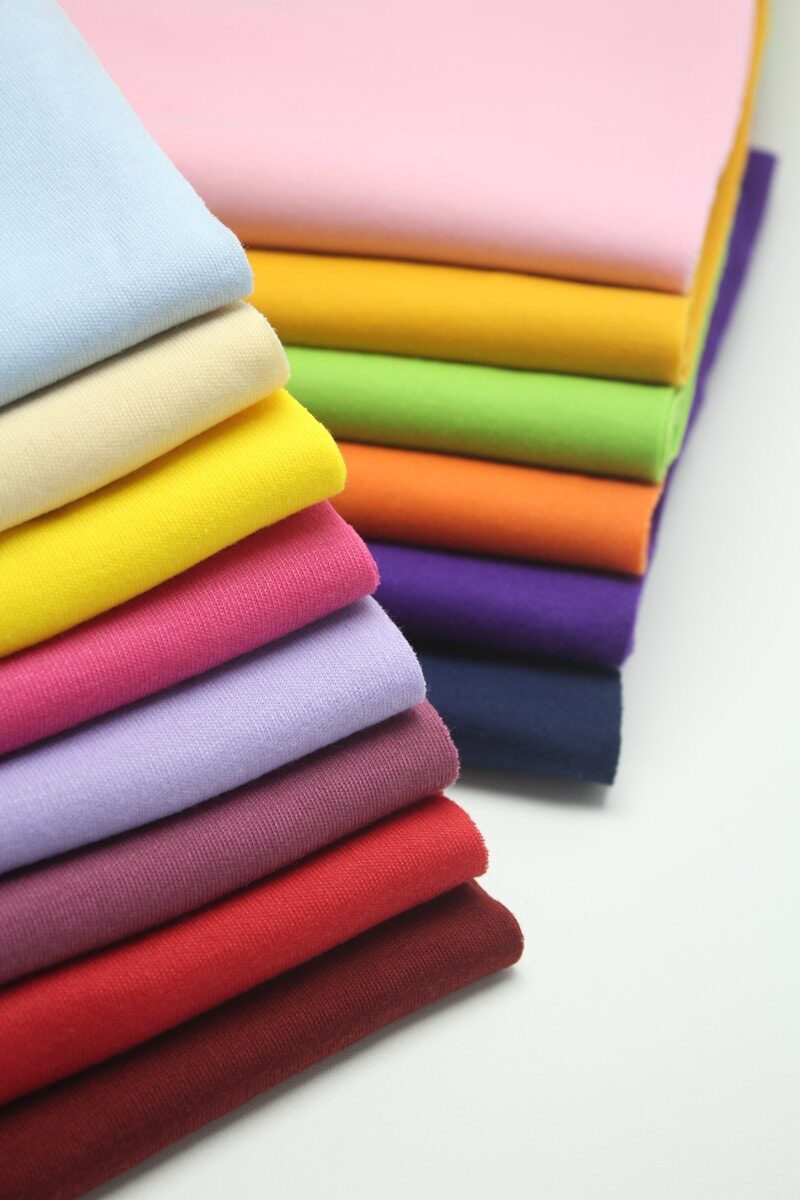
- Sewing cotton, linen, canvas, and other non-stretch fabrics
For most beginner projects, your straight stitch will be your go-to setting.
2. Stitch Length
Stitch length controls how long each stitch is. On many sewing machines, this setting is shown as a number. The higher the number, the longer the stitch.
A shorter stitch creates a tighter seam. A longer stitch creates larger, more visible stitches.
Beginner-Friendly Stitch Length Guide
| Project or Fabric | Recommended Stitch Length |
|---|---|
| Regular cotton fabric | 2.5 mm |
| Lightweight fabric | 2.0–2.5 mm |
| Thick fabric or canvas | 3.0–3.5 mm |
| Topstitching | 3.0–3.5 mm |
| Basting stitches | 4.0–5.0 mm |
For most beginner sewing projects, a 2.5 stitch length is a great place to start.
Why Stitch Length Matters
If your stitches are too short, the fabric may pucker or become difficult to remove if you make a mistake. If your stitches are too long, the seam may not be strong enough.
When in doubt, test your stitch length on a scrap piece of fabric before sewing your actual project.
3. Zigzag Stitch
The zigzag stitch moves the needle from side to side as it sews. This stitch is useful because it has more stretch than a straight stitch.
When to Use a Zigzag Stitch
Use a zigzag stitch for:
- Finishing raw fabric edges
- Sewing stretchy fabric
- Attaching elastic
- Decorative stitching
- Preventing fabric from fraying
If you do not have a serger, a zigzag stitch is one of the easiest ways to finish the edges of your fabric.
4. Stitch Width
Stitch width controls how wide your zigzag or decorative stitch is. A stitch width of 0 usually creates a straight stitch. A higher number makes the stitch wider.
This setting is especially important when using zigzag stitches, buttonholes, or decorative stitches.
Beginner-Friendly Stitch Width Guide
| Use | Suggested Width |
|---|---|
| Narrow zigzag | 1.0–2.0 |
| Regular zigzag | 3.0–4.0 |
| Wide zigzag | 5.0 or higher |
| Straight stitch | 0 |
If you are using a zigzag stitch to finish raw edges, start with a medium width around 3.0 and adjust from there.
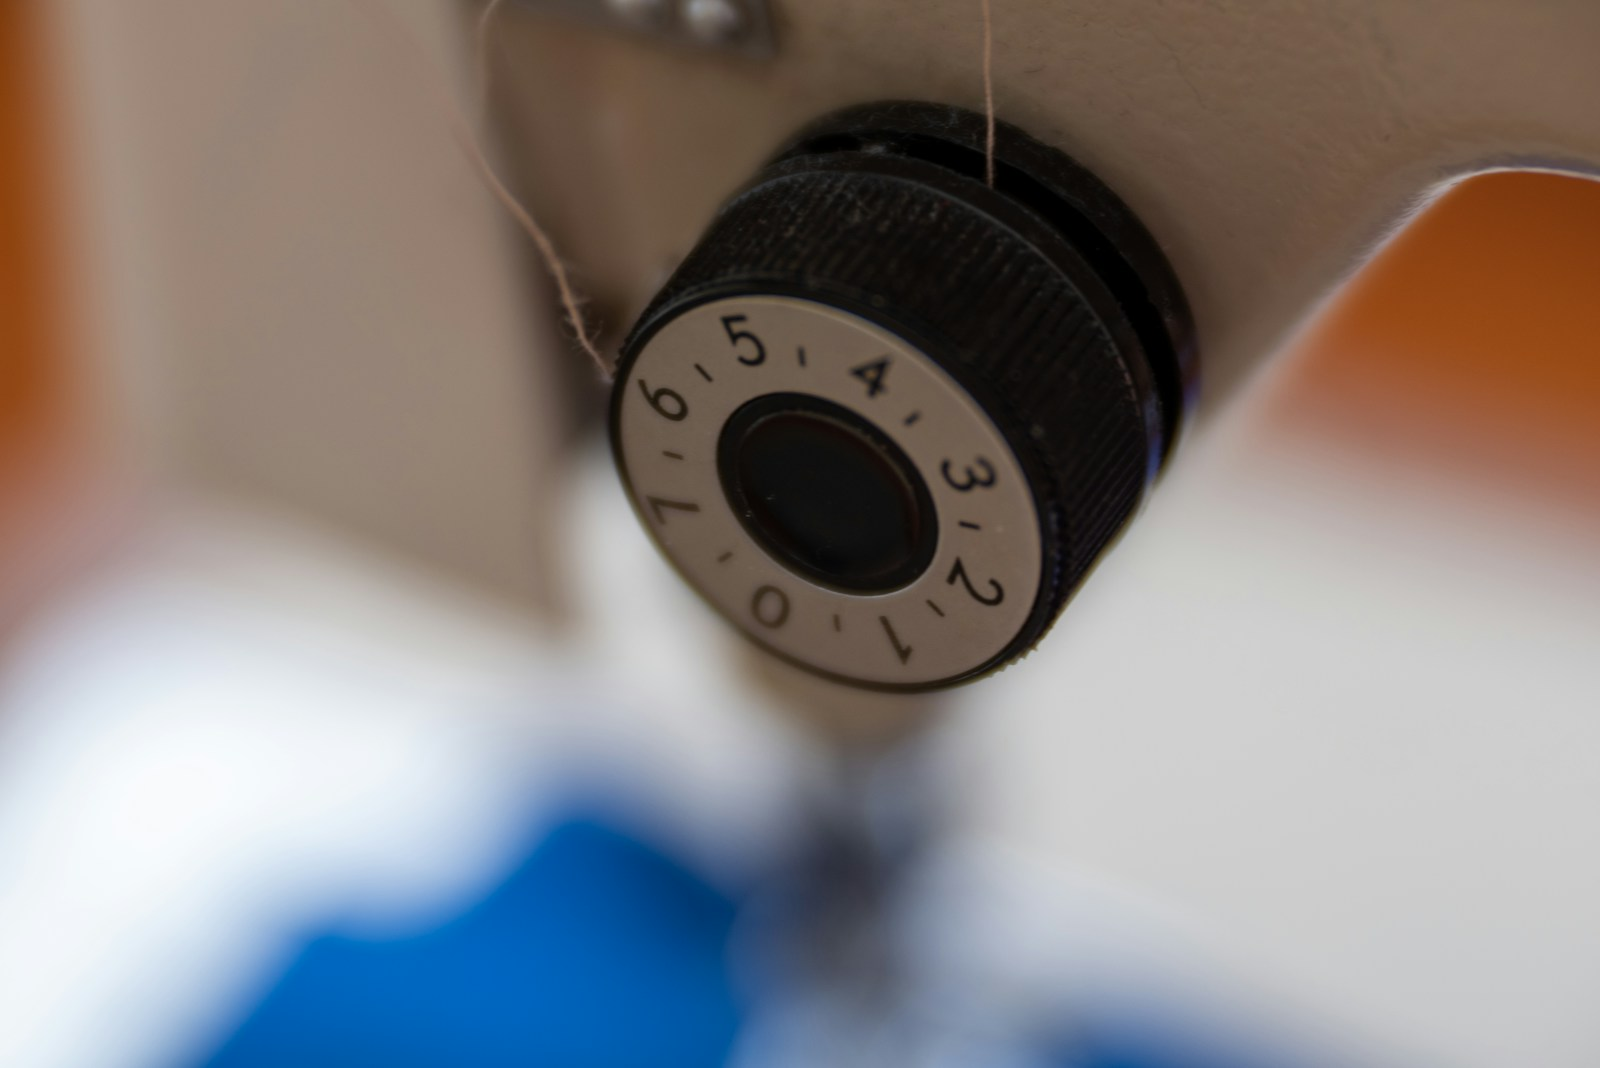
5. Thread Tension
Thread tension is one of the settings that beginners often worry about the most. Tension controls how tightly the upper thread and bobbin thread pull against each other.
When the tension is balanced, your stitches look even on both sides of the fabric.
What Good Tension Looks Like
A balanced stitch should look smooth on the top and bottom of your fabric. You should not see loops, loose threads, or knots sitting on one side.
Common Tension Problems
| Problem | Possible Cause |
|---|---|
| Loops on the bottom of the fabric | Upper thread may not be threaded correctly |
| Loops on the top of the fabric | Bobbin may not be inserted correctly |
| Fabric puckers | Tension may be too tight |
| Stitches look loose | Tension may be too loose |
Before adjusting the tension dial, always rethread your machine first. Many tension problems are actually threading problems.
For most basic sewing, a tension setting around 4 is a common starting point, but every machine is a little different.
6. Reverse Stitch
The reverse stitch button or lever makes your machine sew backward. This is used to lock your stitches at the beginning and end of a seam.
How to Use Reverse Stitch
At the beginning of a seam:
- Sew forward a few stitches.
- Press the reverse button.
- Sew backward a few stitches.
- Release the reverse button and continue sewing forward.
At the end of the seam, repeat the same process.
This keeps your stitches from unraveling.
7. Needle Position
Some sewing machines allow you to move the needle to the left, center, or right. This is called needle position.
Why Needle Position Matters
Needle position can help with:
- Sewing accurate seam allowances
- Topstitching close to an edge
- Installing zippers
- Sewing curves
- Making small adjustments without moving your fabric
For most beginner projects, keeping your needle in the center position is easiest. As you gain confidence, you can experiment with moving the needle for more precise stitching.
8. Presser Foot Pressure
Presser foot pressure controls how firmly the presser foot holds the fabric against the feed dogs.
Not every beginner sewing machine has an adjustable presser foot pressure setting, so do not worry if yours does not.
When to Adjust Presser Foot Pressure
You may need to adjust it when sewing:
- Very thick fabric
- Very thin fabric
- Stretch fabric
- Slippery fabric
- Multiple layers
If your fabric is not feeding smoothly, the presser foot pressure may be one setting to check.
9. Sewing Speed
Many machines have a speed control slider or button. This setting is very helpful for beginners.
When you are just learning, slower is better. Sewing slowly gives you more control and helps you keep your seams straight.
Use a Slow Speed For:
- Curves
- Corners
- Small pieces
- Zippers
- Thick layers
- Topstitching
- Learning a new technique
You can always speed up later. Accuracy matters more than speed when you are building confidence.
10. Feed Dogs
The feed dogs are the little metal teeth under the presser foot. They move the fabric through the machine as you sew.
For regular sewing, the feed dogs should be up.
Some machines allow you to lower the feed dogs for free-motion quilting or special techniques. Beginners usually do not need to adjust this setting often, but it is helpful to know what it does.
If your machine is stitching but the fabric is not moving, check to see if the feed dogs have been lowered.
11. Bobbin Winding Setting
Before you can sew, you need a properly wound bobbin. Most sewing machines have a bobbin winding setting or bobbin winder on top of the machine.
A bobbin should be wound smoothly and evenly. If the thread is loose, uneven, or piled up on one side, it can cause stitching problems.
Bobbin Tips for Beginners
- Use the correct bobbin for your machine.
- Wind the bobbin evenly.
- Insert the bobbin in the correct direction.
- Do not use a bobbin that is overfilled.
- Use the same thread weight in the bobbin and top thread for basic sewing.
A poorly wound bobbin can make your machine act like something is seriously wrong, even when the fix is simple.
12. Buttonhole Setting
Many modern sewing machines have an automatic or semi-automatic buttonhole setting. This setting creates a stitched opening for buttons.
Buttonholes can feel intimidating at first, but your machine may do most of the work for you.
Beginner Buttonhole Tips
Before sewing a buttonhole on your project:
- Practice on scrap fabric.
- Use interfacing if your fabric is thin.
- Mark the buttonhole placement clearly.
- Use the correct buttonhole foot.
- Test the button size with the buttonhole setting.
Buttonholes are much easier once you practice a few times on scraps.
13. Common Beginner Sewing Machine Settings
Here is a simple starting guide you can use for basic projects.
| Sewing Task | Stitch Type | Stitch Length | Stitch Width | Notes |
|---|---|---|---|---|
| Basic seam on cotton | Straight stitch | 2.5 | 0 | Best beginner setting |
| Topstitching | Straight stitch | 3.0–3.5 | 0 | Gives a polished look |
| Finishing raw edges | Zigzag | 2.5–3.0 | 3.0–4.0 | Helps reduce fraying |
| Sewing stretch fabric | Narrow zigzag | 2.0–2.5 | 1.0–2.0 | Allows some stretch |
| Basting | Straight stitch | 4.0–5.0 | 0 | Temporary stitching |
| Thick fabric | Straight stitch | 3.0–3.5 | 0 | Use the correct needle |
These are starting points, not strict rules. Fabric, thread, needle size, and machine type can all affect your results.
Always Test on Scrap Fabric First
One of the best sewing habits you can develop is testing your settings on a scrap piece of fabric before sewing your actual project.
Use the same fabric, thread, and number of layers you will use in your project. This helps you check:
- Stitch length
- Tension
- Stitch width
- Needle choice
- Thread color
- Seam appearance
Testing first can save you from having to rip out stitches later.
Troubleshooting Beginner Stitch Problems
Even when you use the right settings, sewing machines can still be a little fussy. Here are some common issues and simple fixes.
Skipped Stitches
Try changing the needle. A dull, bent, or incorrect needle can cause skipped stitches.
Thread Nesting Under the Fabric
Rethread the upper thread with the presser foot raised. Also check that the bobbin is inserted correctly.
Fabric Puckering
Try lowering the tension slightly, using a longer stitch length, or changing to a finer needle.
Machine Jamming
Stop sewing, remove the fabric carefully, check the bobbin area, and rethread the machine.
Uneven Stitches
Make sure the machine is threaded correctly, the bobbin is wound evenly, and the needle is appropriate for your fabric.
Final Thoughts
You do not need to master every feature on your sewing machine right away. Start with the basics: straight stitch, stitch length, zigzag stitch, stitch width, tension, reverse stitch, and sewing speed.
Once you understand these beginner sewing machine settings, your projects will become much less frustrating and much more enjoyable.
The best way to learn your machine is to practice. Grab some scrap fabric, try different settings, and notice how each change affects your stitches. The more you experiment, the more comfortable you will become.
Before long, those dials and buttons will feel a lot less intimidating—and your sewing will start to look cleaner, stronger, and more professional.
Subscribe to our newsletter!