**Disclaimer: This post contains affiliate links, meaning I may receive a small commission at no extra cost to you if you make a purchase.
Simple steps turn your skills into income– without overspending
Starting a sewing side hustle doesn’t require a big investment, a fancy studio, or years of experience. In fact, you can get started with less than $100 and a basic sewing machine. If that sounds surprising, it’s because most beginners are told they need:
- Tons of fabric
- Expensive tools
- A full product line
But that’s not how people actually start making money.
The real secret?
Start small, stay simple, and focus on what sells.
This guide will walk you through exactly how to do that.
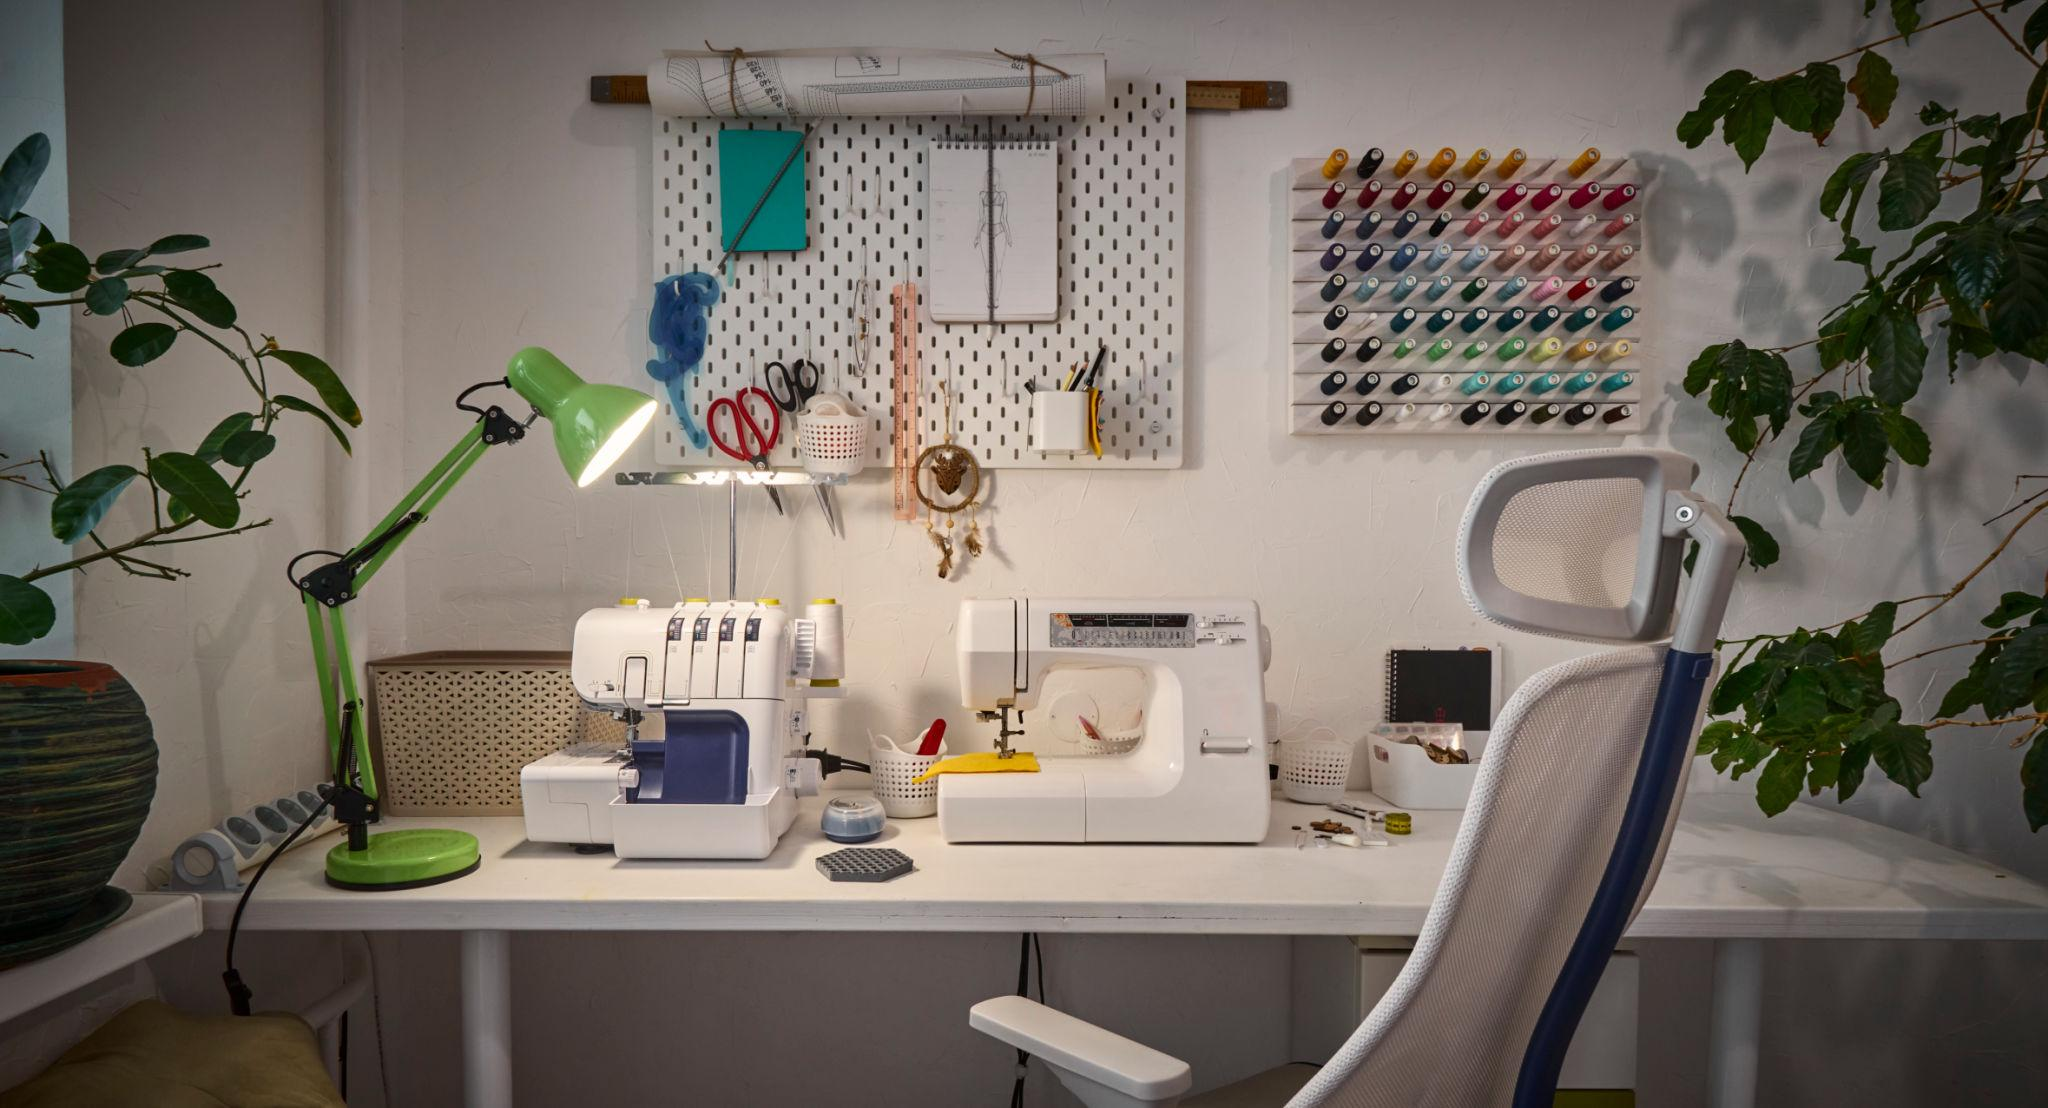
Step 1: Start with what you already have
Before you spend a single dollar, take inventory of what you already own.
Most beginners already have:
- A sewing machine
- Basic thread
- Scissors
- A few pieces of fabric
That’s enough to get started.
You don’t need:
- A serger
- Fancy cutting tools
- Designer fabric
If it helps you sew a straight line– you’re ready.
Step 2: Set a smart $100 budget
The biggest mistake beginners make is spending too much upfront. Instead, create a simple starter budget like this:
Example Budget:
- Fabric: $30
- Thread and basics: $10
- Pins or clips: $10
- Packaging (bags, labels): $15
- Miscellaneous: $10
- Cushion (just in case): $25
Total: $100 or less
Important rule:
Only buy what you need to make your first 5-10 products. Not 50.
Step 3: Choose ONE Product (This Matters Most)
This step will determine your success.
Don’t choose:
- Complicated clothing
- Custom orders
- Time-consuming designs
Instead, pick something that is easy to make, quick to produce, and in demand. The idea is to find something that will sell and sell quickly.
Best beginner products:
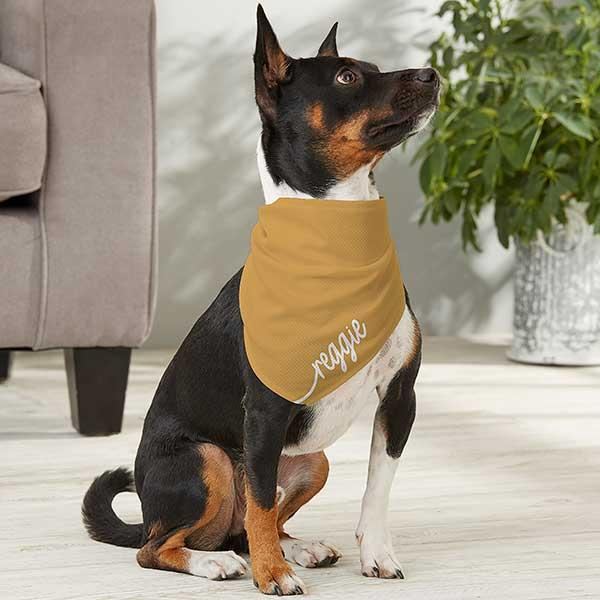
- Dog bandanas
- Scrunchies
- Pillow covers
- Reusable tote bags
- Simple aprons
If you can make it in under 45 minutes, it is a good choice.
Why one product works:
- You get faster at making that one item
- You can make fewer mistakes
- You can price it better
- You build confidence
Step 4: Make your first 5-10 items
Now it’s time to actually sew.
Don’t worry about perfection. Instead, focus on:
- Clean seams
- Consistent sizing
- Neat finishing
Pro Tip:
Make the same item multiple times in a row. This helps you:
- Speed up
- Reduce errors
- Feel more confident
Repetition is what turns a hobby into a business.
Step 5: Take simple, clear photos
You don’t need a professional camera to take great pictures. Advancements in cellphones have added great camera quality right in the palm of your hand.
Just remember that good photos include:
- Natural light (near a window is preferable)
- A clean background
- Close-up detail shots
- A styled example (your subject wearing your product)
Avoid:
- Dark lighting
- Cluttered backgrounds
- Blurry images
People decide to buy based on what they see first.
Step 6: Start selling immediately
This is where most people hesitate– but it’s the most important step.
You don’t need a website yet.
Start simple.
Best beginner platforms:
- Facebook Marketplace
- Local Facebook groups
- Friends and family
- Word of Mouth
- Etsy (once you’re ready)
Your goal:
Make your first $20-$50, not build a perfect business.
Step 7: Price your items correctly
Pricing is where many beginner go wrong. They think, “If I charge less, I’ll sell more,” but underpricing leads to burnout, no profit, and frustration.
A Simple pricing formula:
(Material cost x 2) + a small amount for your time
Example:
- Fabric: $2
- Supplies: $1
- Time: $3
Price: $8-$12
Remember:
People aren’t just buying fabric– they are buying your time and effort.
If you need a handy price guide, just sign up for our newsletter! The product pricing guide is your free gift just for subscribing.
Step 8: Reinvest Your First Earnings
When you make your first sales– don’t spend the money right away. Reinvest it into your business.
Use profits to:
- Buy more fabric
- Try new patterns
- Improve your product
This is how you grow without spending more out of pocket.
Step 9: Improve based on what sells
Pay attention to:
- Which items sell fastest?
- Was it a specific pattern or fabric that sold?
- What people ask for?
- Did they need it customized or personalized?
- Did they need it with a different type of clasp?
- What gets compliments?
Ask yourself:
- Should I make more of this?
- Should I adjust pricing?
- Can I simplify the process?
Let your customers guide your next steps.
Step 10: Expand slowly
Once you are comfortable, you can grow your side hustle.
Add:
- More product variations
- An Etsy shop
- A simple blog
- Pinterest for traffic
But only after you’ve proven your product sells.
Common Mistakes to Avoid
Let’s keep you on the right track.
Don’t:
- Buy too much fabric
- Try too many products
- Wait for perfection
- Underprice your work
- Give up too early
Do:
- Start small
- Stay consistent
- Focus on one product
- Learn as you go
What you can realistically expect
Let’s keep expectations honest.
| Month 1 | |
| $20-$100 | |
| Learning and experimenting | |
| Months 2-3 | |
| $100-$300 | |
| More confidence and repeat sales | |
| Months 4+ | |
| $300+ potential | |
| Expanding products and/or platforms |
It’s not instant– but it is possible.
Final Thoughts
Starting a sewing side hustle doesn’t have to be overwhelming or expensive.
With:
- A sewing machine
- A small budget
- A simple plan
You can turn your skills into real income.
Remember:
You don’t need to be perfect.
You just need to start.
Subscribe to our newsletter and get a free Handmade Product Pricing Guide.