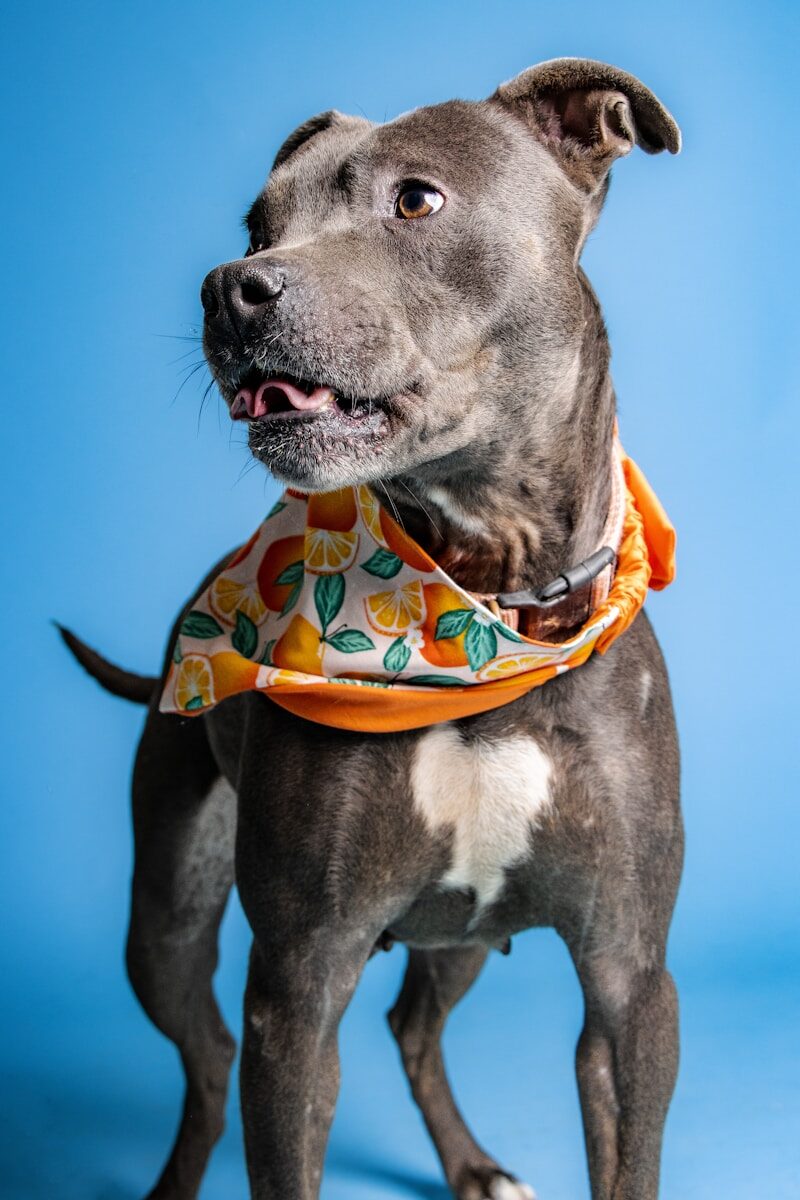
Dog bandanas are one of the easiest and most satisfying sewing projects you can make. They are quick, beginner-friendly, and perfect for using up fun cotton fabrics. Even better, a reversible dog bandana gives you two looks in one, making it a practical project for your own pup, handmade gifts, craft fairs, or Etsy products.
In this tutorial, you’ll learn how to sew a simple reversible dog bandana using two coordinating fabrics.
Why Make Reversible Dog Bandanas?
Reversible dog bandanas are a great sewing project because they are:
- Beginner-friendly
- Quick to sew
- Great for scrap fabric
- Easy to customize
- Perfect for holidays, birthdays, and seasons
- A popular handmade item to sell
Since each side uses a different fabric, you can create one bandana with two completely different looks. For example, one side could be a fall plaid and the other could be a Halloween print. One side could be floral, while the other is a simple gingham or polka dot.
Supplies Needed
To sew a reversible dog bandana, you will need:
- Two pieces of cotton fabric
- Coordinating thread
- Sewing machine
- Fabric scissors or rotary cutter
- Cutting mat and ruler
- Pins or sewing clips
- Iron and ironing board
- Point turner or blunt tool
- Dog collar for sizing, if making an over-the-collar version
For best results, use quilting cotton or another lightweight woven cotton fabric. It presses nicely, sews easily, and comes in endless prints.
Choosing the Right Fabric
Cotton fabric works best for dog bandanas because it is soft, washable, and easy to sew. Avoid fabrics that are too thick, slippery, or stretchy, especially if you are a beginner.
Good fabric choices include:
| Fabric Type | Why It Works |
|---|---|
| Quilting cotton | Easy to sew and available in many prints |
| Cotton poplin | Smooth and lightweight |
| Chambray | Casual and durable |
| Flannel | Cozy for fall and winter |
| Lightweight denim | Cute but slightly thicker |
If you plan to sell your bandanas, choose fabrics that match holidays, seasons, pet birthdays, sports teams, or popular color trends.
Two Common Styles of Dog Bandanas
Before cutting your fabric, decide which type of bandana you want to make.
1. Tie-On Dog Bandana
A tie-on bandana is tied around the dog’s neck. This style is simple and does not require the dog’s collar to slide through it.
Pros:
- Easy to make
- Adjustable
- Great for photos and gifts
Cons:
- Needs to be tied securely
- Should always be worn with supervision
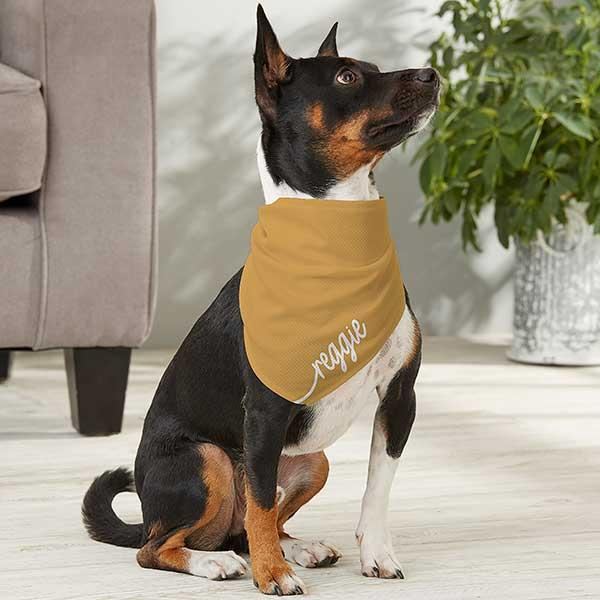
2. Over-the-Collar Dog Bandana
An over-the-collar bandana has a casing at the top. The dog’s collar slides through the opening, making it secure and comfortable.
Pros:
- Stays in place well
- No tying needed
- Great for everyday wear
Cons:
- Needs to fit the collar width
- Slightly more sewing involved
Both styles can be reversible, but this tutorial will focus on a tie-on reversible dog bandana because it is the easiest place to start.
Basic Dog Bandana Sizes
Here are general size suggestions. You can adjust them depending on the dog’s neck size and how much drape you want.
| Dog Size | Neck Size | Suggested Finished Width |
|---|---|---|
| Extra Small | 8–10 inches | 12–14 inches |
| Small | 10–14 inches | 14–16 inches |
| Medium | 14–18 inches | 18–20 inches |
| Large | 18–22 inches | 22–24 inches |
| Extra Large | 22–26 inches | 26–28 inches |
For a tie-on bandana, make sure the top edge is long enough to tie comfortably around the dog’s neck.
Safety tip: The bandana should fit comfortably. You should be able to slide two fingers between the bandana and the dog’s neck.
How to Make a Reversible Dog Bandana
Step 1: Cut Your Fabric
Cut two matching triangle pieces, one from each fabric.
A simple way to do this is to cut a square and then cut it diagonally from corner to corner.
For example:
- Small dog: cut a 14-inch square
- Medium dog: cut an 18-inch square
- Large dog: cut a 22-inch square
After cutting diagonally, you will have two triangles. Use one triangle from Fabric A and one triangle from Fabric B.
You can save the extra triangles to make another bandana.
Step 2: Place Fabrics Right Sides Together
Lay one fabric triangle on your work surface with the right side facing up.
Place the second fabric triangle on top with the right side facing down.
The right sides of the fabric should be touching.
Line up the edges and pin or clip around the triangle.
Step 3: Sew Around the Edges
Using a ¼-inch seam allowance, sew around the triangle.
Leave a 2- to 3-inch opening along one straight side. This opening will allow you to turn the bandana right side out.
When you get to each corner, stop with the needle down, lift the presser foot, turn the fabric, lower the presser foot, and continue sewing.
Step 4: Trim the Corners
Carefully trim the corners to reduce bulk.
Do not cut through your stitches.
Trimming the corners helps the bandana lay flatter and gives the points a cleaner shape after turning.
Step 5: Turn the Bandana Right Side Out
Turn the bandana right side out through the opening.
Use a point turner, chopstick, or blunt tool to gently push out the corners.
Be careful not to poke through the fabric.
Step 6: Press the Bandana
Press the entire bandana with an iron.
Fold the raw edges of the opening inward so they line up with the sewn edge. Press them flat.
This step makes the final topstitching much neater.
Step 7: Topstitch Around the Bandana
Topstitch around the entire bandana about ⅛ inch from the edge.
This closes the turning opening and gives the bandana a clean, finished look.
You can use matching thread for a subtle look or contrasting thread for a decorative finish.
Optional: Add a Decorative Detail
Once you know the basic method, you can personalize your reversible dog bandanas.
Try adding:
- Heat-transfer vinyl
- Embroidery
- A name or monogram
- Decorative stitching
- Pom-pom trim
- Ruffles
- Holiday appliqués
- A small fabric label
If you are selling your bandanas, a small handmade label can make the product look more professional.
How to Sew an Over-the-Collar Reversible Dog Bandana
An over-the-collar version is also easy to make. The main difference is that you create a casing at the top for the collar.
Basic Steps
- Cut two fabric pieces in a pentagon-style bandana shape.
- Place the fabrics right sides together.
- Sew around the sides and point, leaving the top open.
- Turn right side out and press.
- Fold the top edge down to create a casing.
- Stitch across the folded edge.
- Slide the collar through the casing.
Make sure the casing is wide enough for the dog’s collar. For most small and medium collars, a 1½-inch to 2-inch casing works well. For wider collars, increase the casing size.
Tips for Sewing Dog Bandanas
Prewash Your Fabric
Dog bandanas will likely need to be washed often. Prewashing your fabric helps prevent shrinking after the bandana is finished.
Use Coordinating Fabrics
Choose two fabrics that look good together. One busy print and one simple print usually work well.
Press Often
Pressing makes a big difference. Iron the fabric before cutting, after turning, and before topstitching.
Reinforce the Corners
If the bandana will be worn often, backstitch at the beginning and end of your seams to keep the stitches secure.
Make Several at Once
Dog bandanas are easy to batch sew. Cut several fabric sets at one time, then sew assembly-line style.
Fabric Combination Ideas
Here are a few fun fabric pairings:
- Buffalo plaid and solid black
- Floral print and gingham
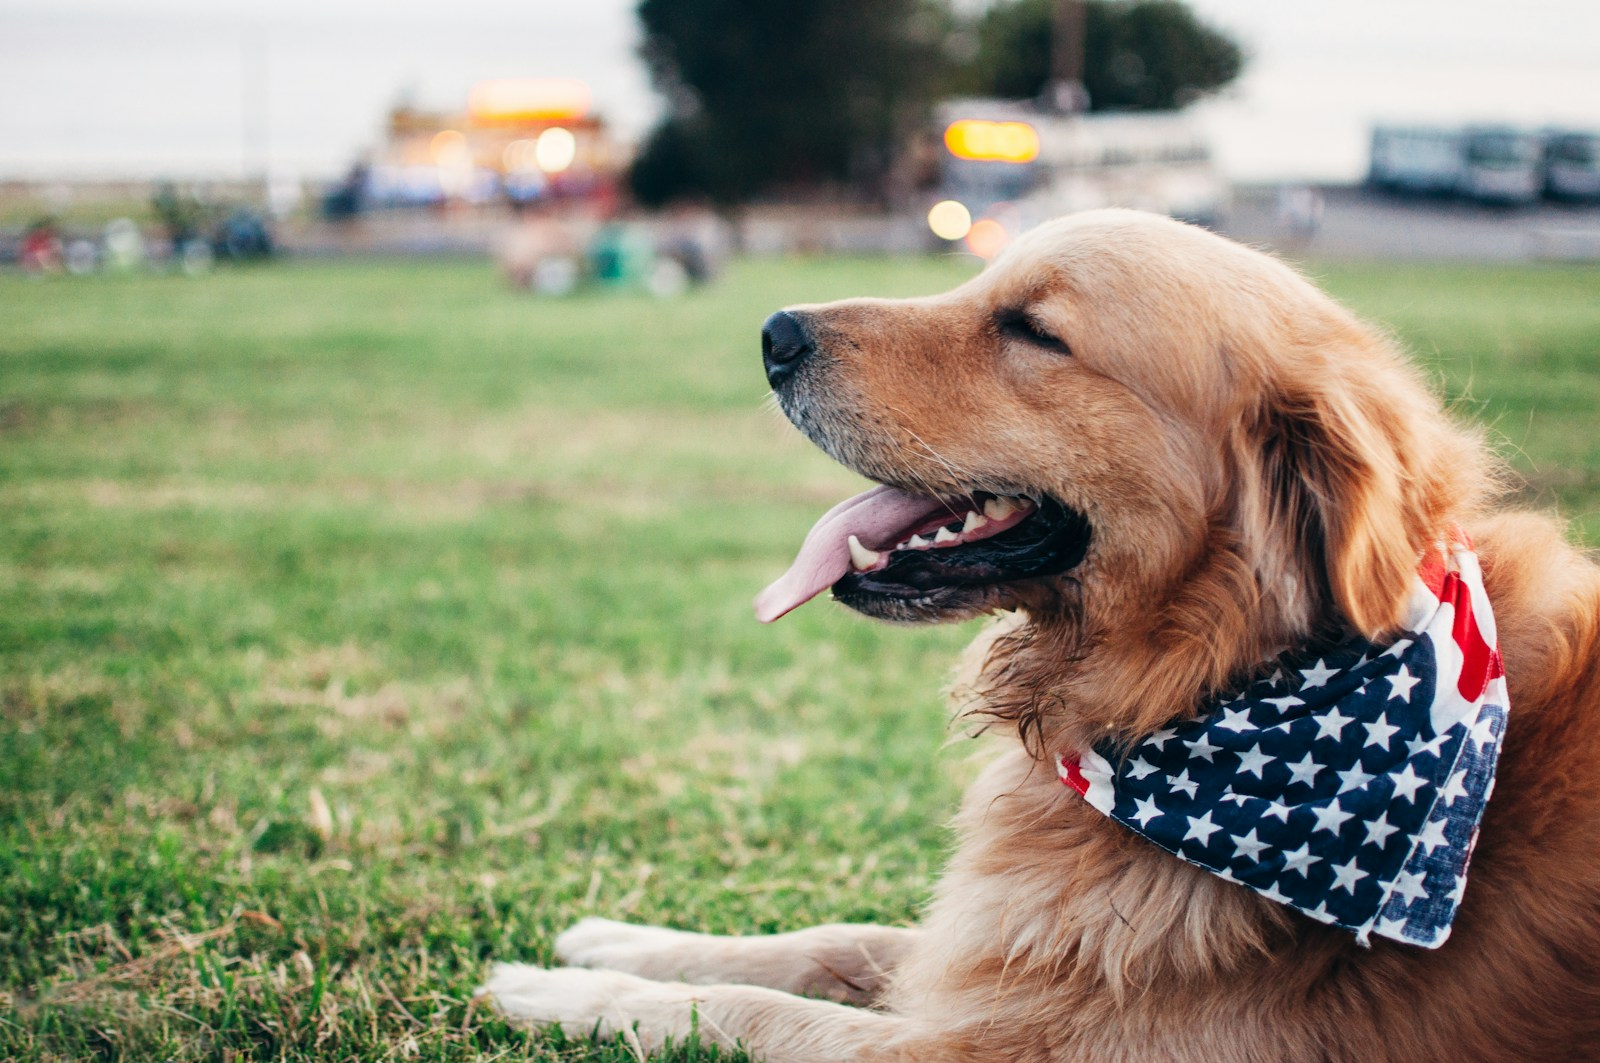
- Patriotic stars and denim
- Halloween print and orange polka dots
- Christmas plaid and snowflakes
- Dog bone print and paw prints
- Birthday print and bright stripes
- Fall leaves and brown check fabric
Seasonal fabric combinations are especially popular if you sell handmade pet accessories.
Can You Sell Reversible Dog Bandanas?
Yes, reversible dog bandanas can be a great handmade product to sell. They are lightweight, easy to ship, and can be made in many different themes.
They work well for:
- Etsy shops
- Craft fairs
- Pet boutiques
- Vendor markets
- Holiday gift sets
- Personalized pet gifts
To make your bandanas stand out, consider offering matching scrunchies, bow ties, or leash accessories.
Pricing Tips for Handmade Dog Bandanas
When pricing your bandanas, consider:
- Fabric cost
- Thread and supplies
- Packaging
- Your time
- Etsy or marketplace fees
- Shipping materials
- Profit margin
A simple reversible dog bandana may sell well in the $8 to $18 range, depending on size, fabric quality, personalization, and packaging.
Personalized or embroidered bandanas can often be priced higher.
Safety Reminders
Dog bandanas are cute, but safety matters.
Always remind customers to:
- Supervise pets while wearing accessories
- Remove bandanas during crate time
- Avoid tying too tightly
- Check for loose threads or damage
- Wash regularly
Pet accessories should be comfortable, lightweight, and easy to remove.
Final Thoughts
Learning how to sew reversible dog bandanas is a simple and rewarding project for beginners. With just two pieces of fabric and a few basic sewing supplies, you can create a cute, practical accessory that gives your dog two looks in one.
Whether you are sewing for your own pup, making gifts, or building inventory for your handmade shop, reversible dog bandanas are a fun project that can be customized for every season and occasion.
Once you make one, you’ll probably want to make a whole stack.
Subscribe to our newsletter!